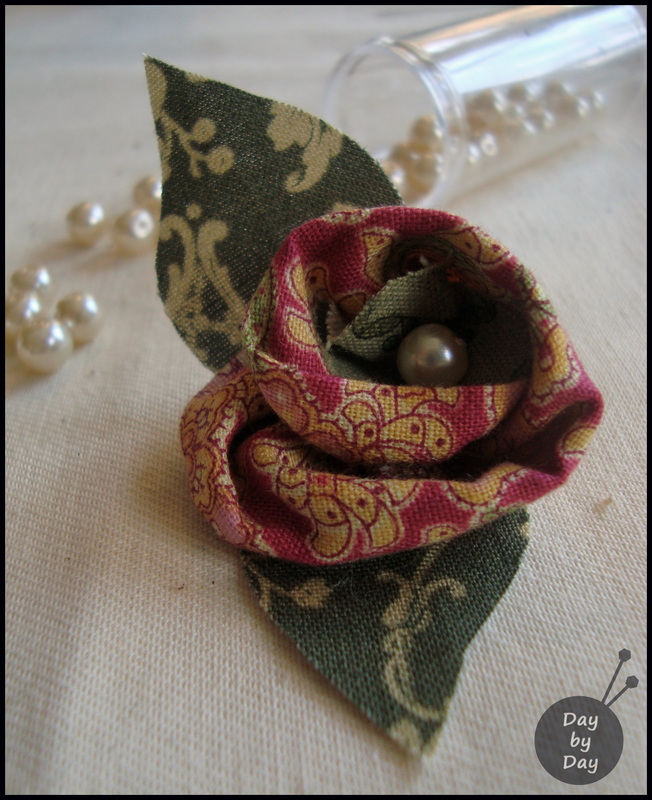
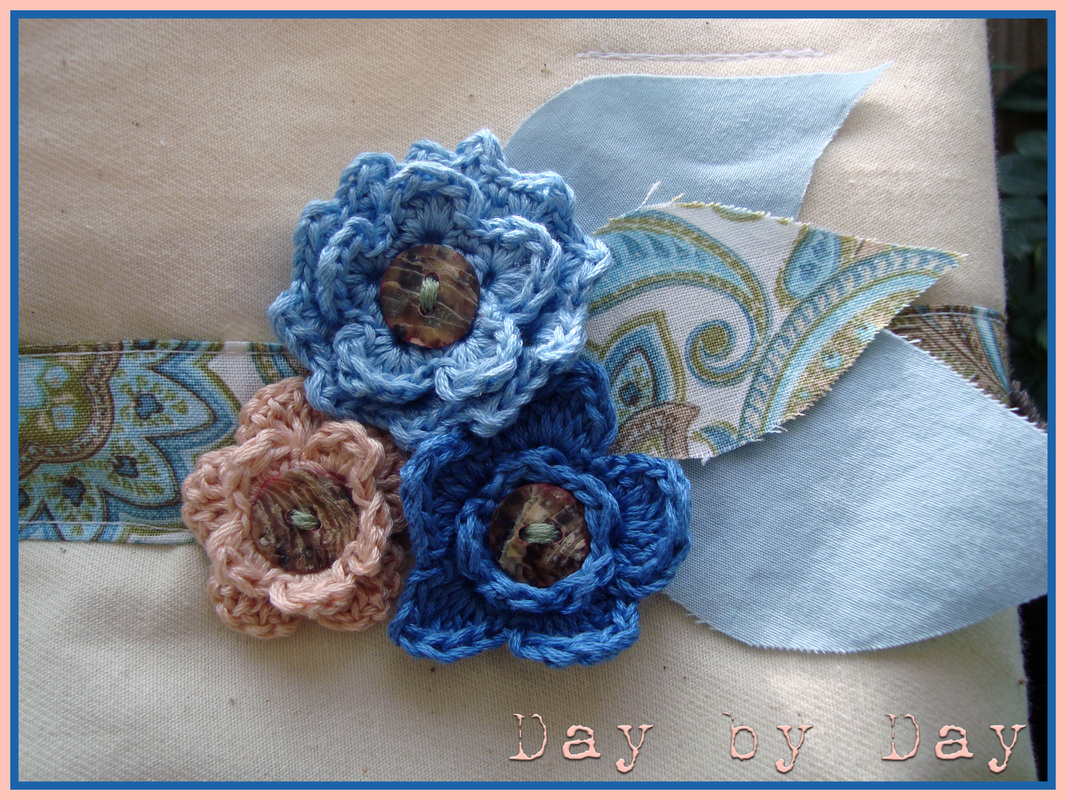
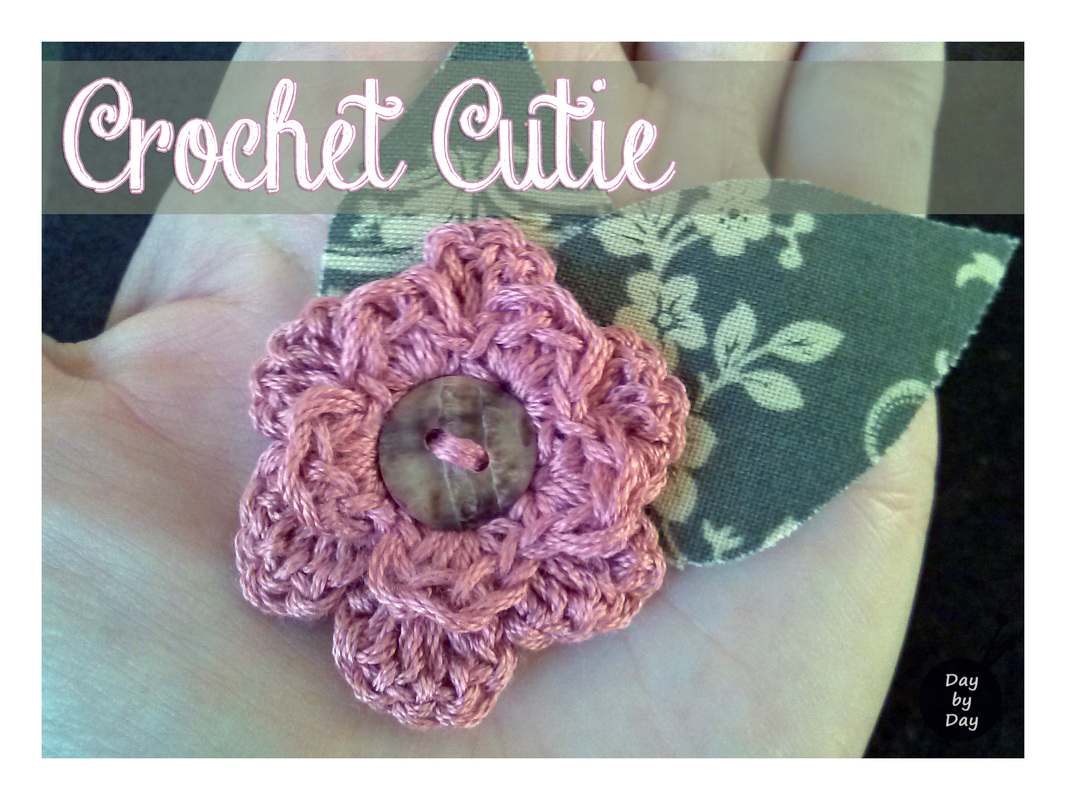
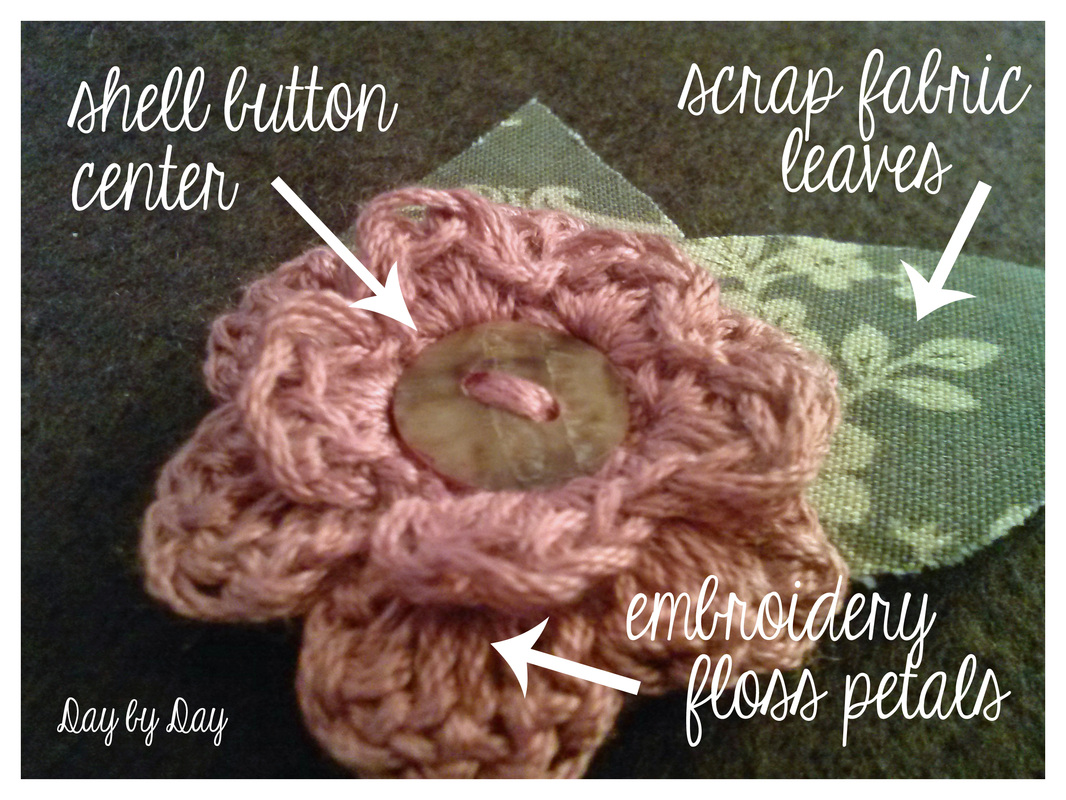
I've been seeing everyone's beautiful crocheted creations lately and it has inspired me to take ten minutes out of my day and whip up a cute little ornament of my very own. I found this particular double flower pattern online and followed instructions that were more complicated than they needed to be, so I'm not going to bother sharing it with you, because seriously, I found it really confusing. Suffice it to say that it involved making the smaller flower and flipping it over to create the larger flower on the back side... It was not really to my liking, so I think for my future endeavors I'm going to wing it and come up with my own design. I will however say that if you have a favorite crocheted flower pattern, this is so cute and easy! I used MADEIRA silk embroidery floss mainly because I have a bunch of it in my stash, and it is the loveliest shade of dusty rose... plus the silky sheen is a nice addition. You could use literally anything that takes your fancy--it's your party! The center is a shell button and the leaves are from my fabric scraps. Oh, how I love my collection of fabric scraps! I whipped it together quickly and have a little round of brown felt attached to the back with a bit of hot glue. I definitely plan to make a few more of these to use as brooches--very simple with the addition of a little brooch clasp sewn onto the felt backing. This little cutie is going to grace my next project--coming soon!
Happy weekend, everyone!
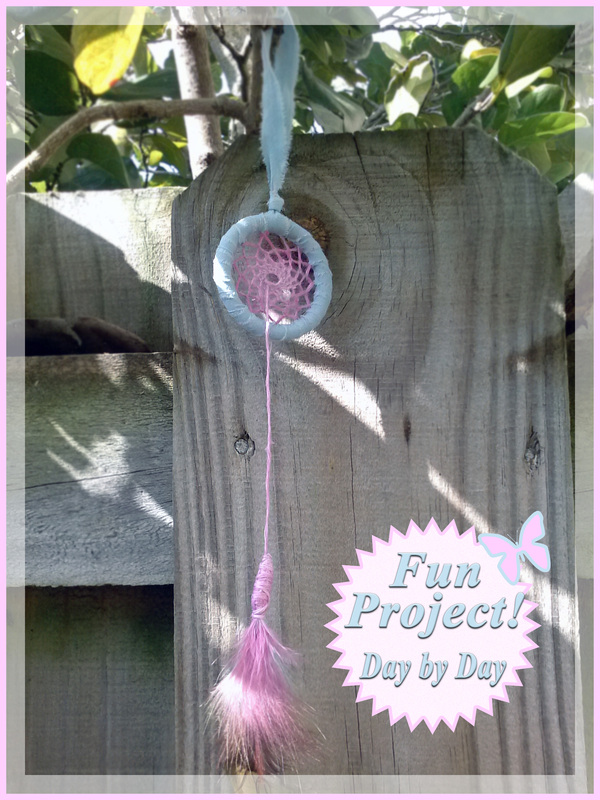
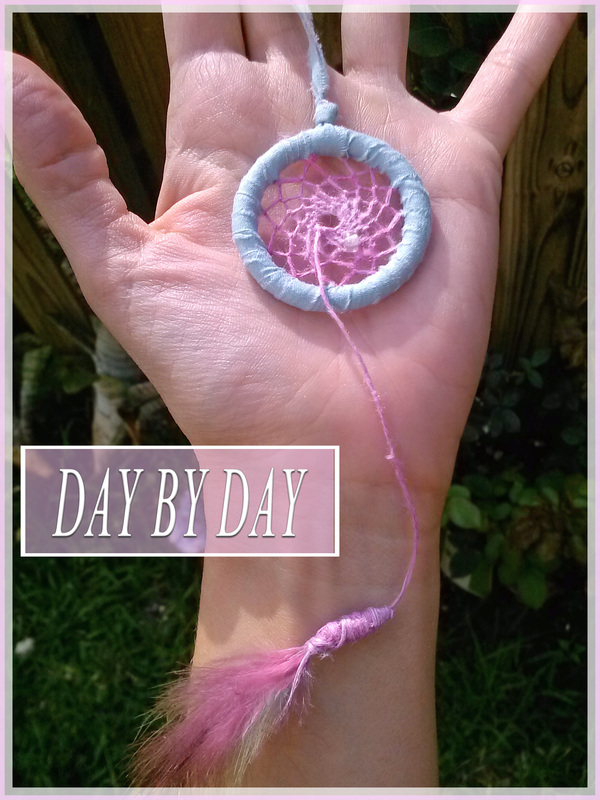
All human beings are also dream beings.
Dreaming ties all mankind together.
Jack Kerouac For ages now I've been meaning to attempt a Dream Catcher. They're very common in my little hometown corner of Canada as we have a rich Native local tradition and share our corner of the province with the Maliseet people, who are well known for their outstanding handwork skills--particularly beadwork and basket-weaving. Their Dream Catchers vary from very simple and traditional to large and elaborate sporting thread knotwork and beautiful beading. The basic premise of the Dream Catcher is that traditionally it is hung in a place above the sleeper's head in a spot where the morning light will touch it. Bad and unimportant dreams are 'caught' in the web and in the morning's first light they dissolve away. The good, meaningful dreams are concentrated and slide down the thread to the feather and into the sleeper's head. A lovely idea, isn't it? Something all of us could use from time to time, I suspect... I am a terrible magpie and tend to collect random everyday bits and bobs with the intention of eventually using them for various projects--so naturally I have a little collection of small plastic hoops that are perfect for this endeavor! This hoop was clear plastic and is around 1 5/8" (4.2cm) in diameter. I found a great online tutorial at Native Tech with good diagrams explaining how to make a dream catcher, and I used a few odds and ends from my crafting stash to construct my little creation. A strip of scrap fabric to cover the hoop, a length of silk embroidery thread for the web, a bead to represent the spider, and a little feather to tie at the end. Super simple. This is a great little project and would make a wonderful gift--click on the above tutorial link and give it a try for yourself!
Happy Creating!
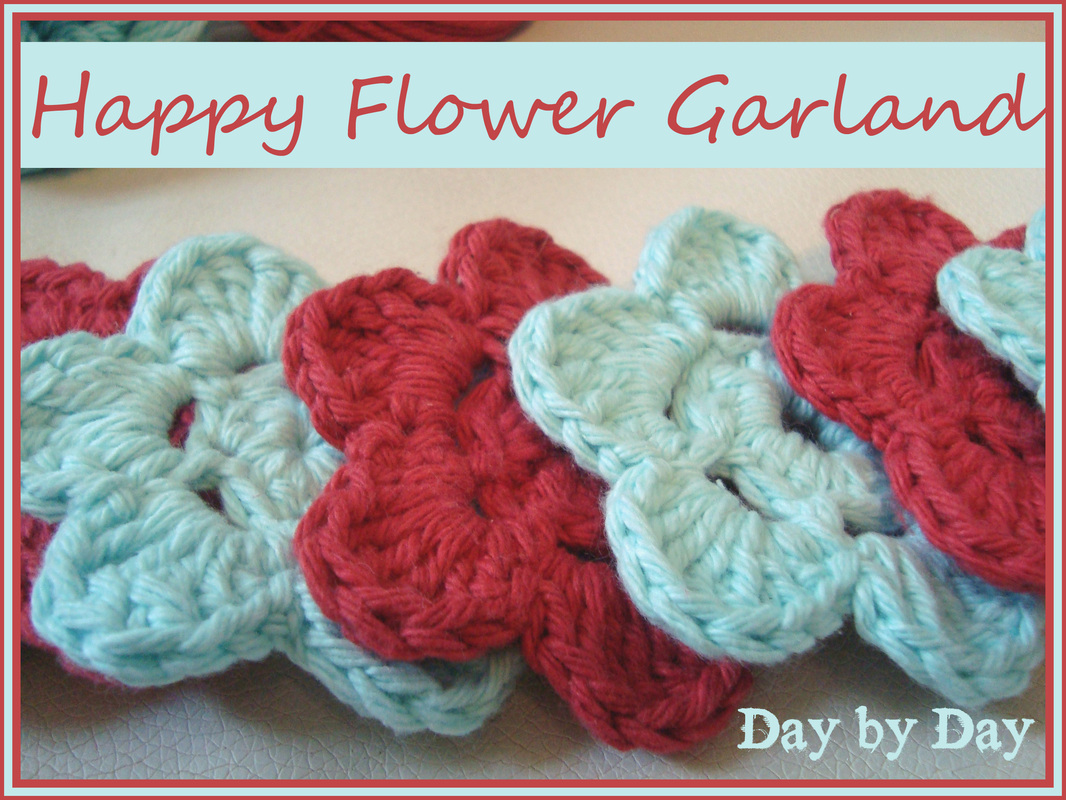
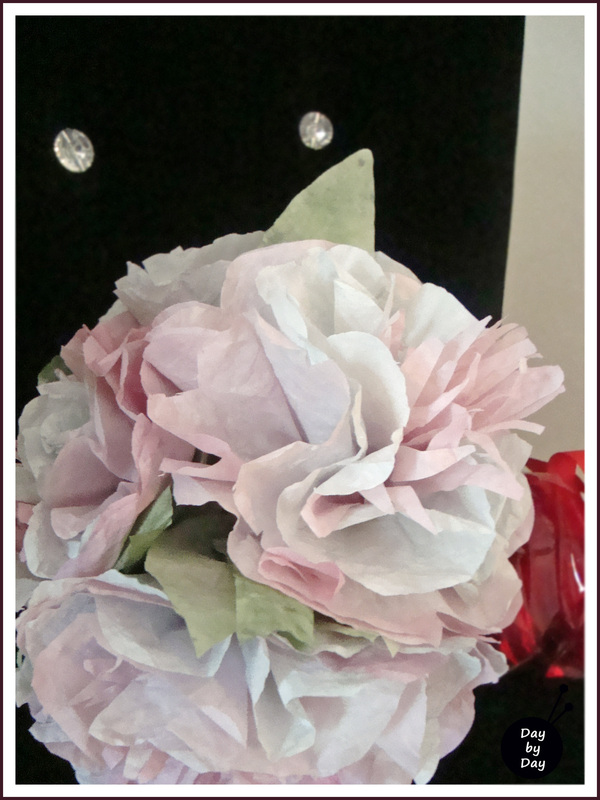
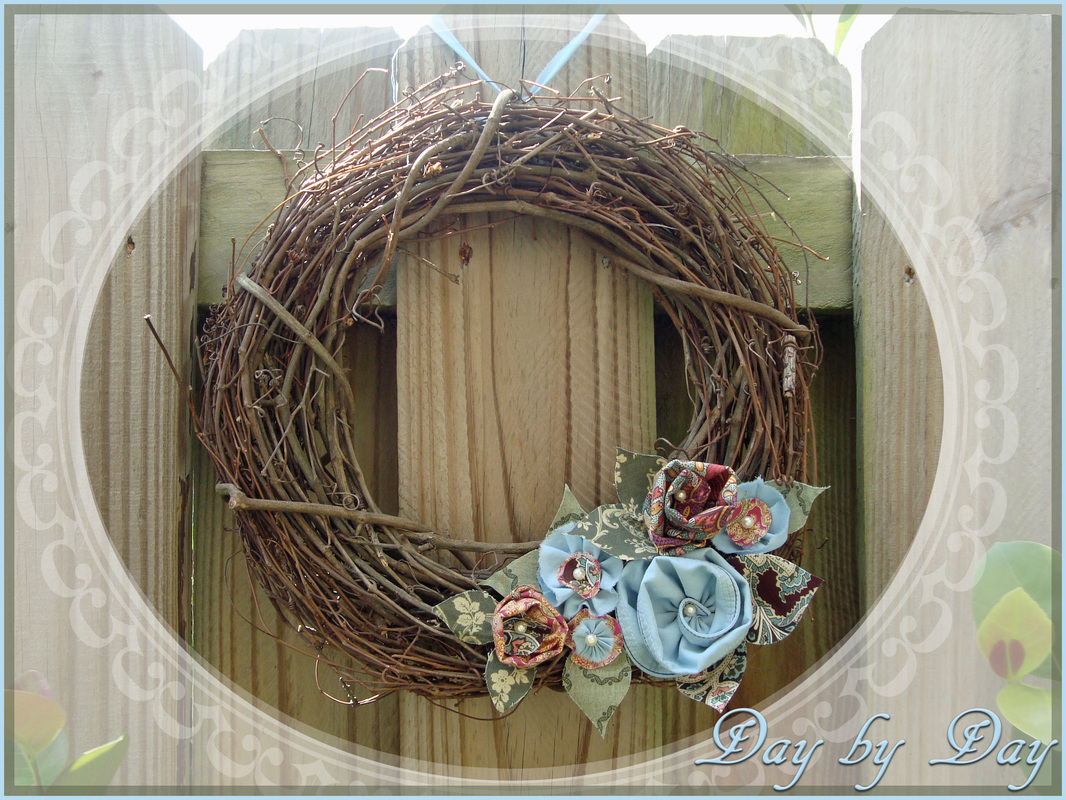
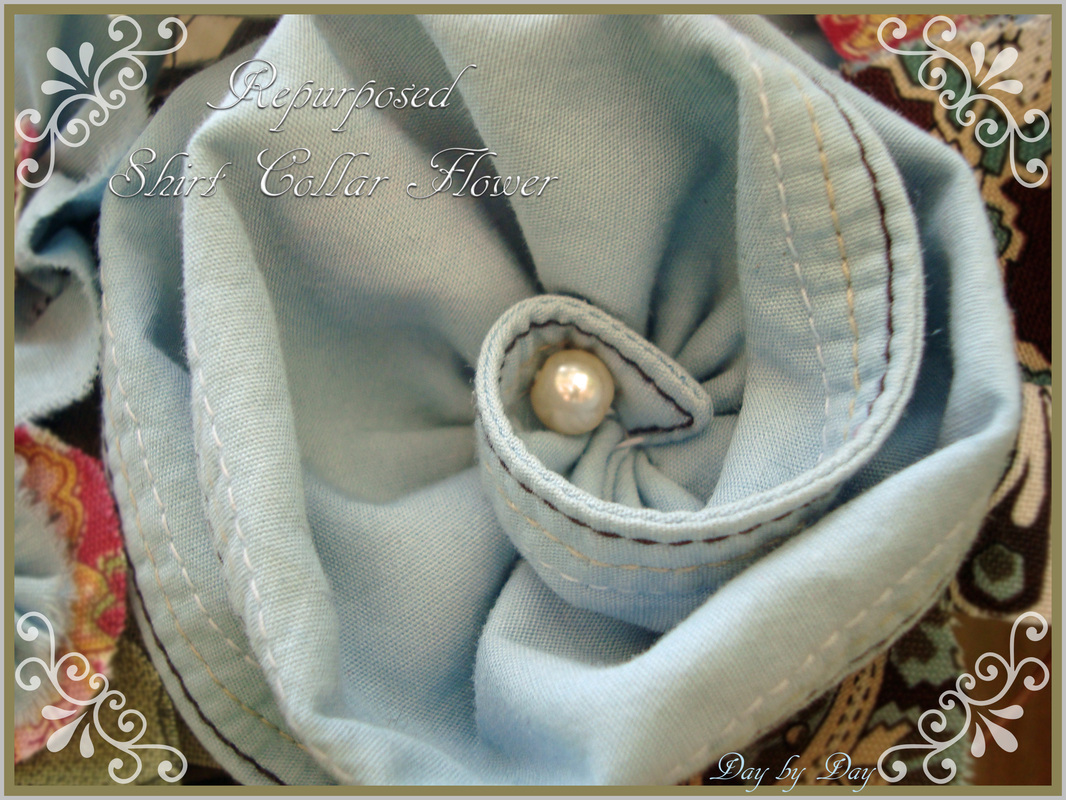
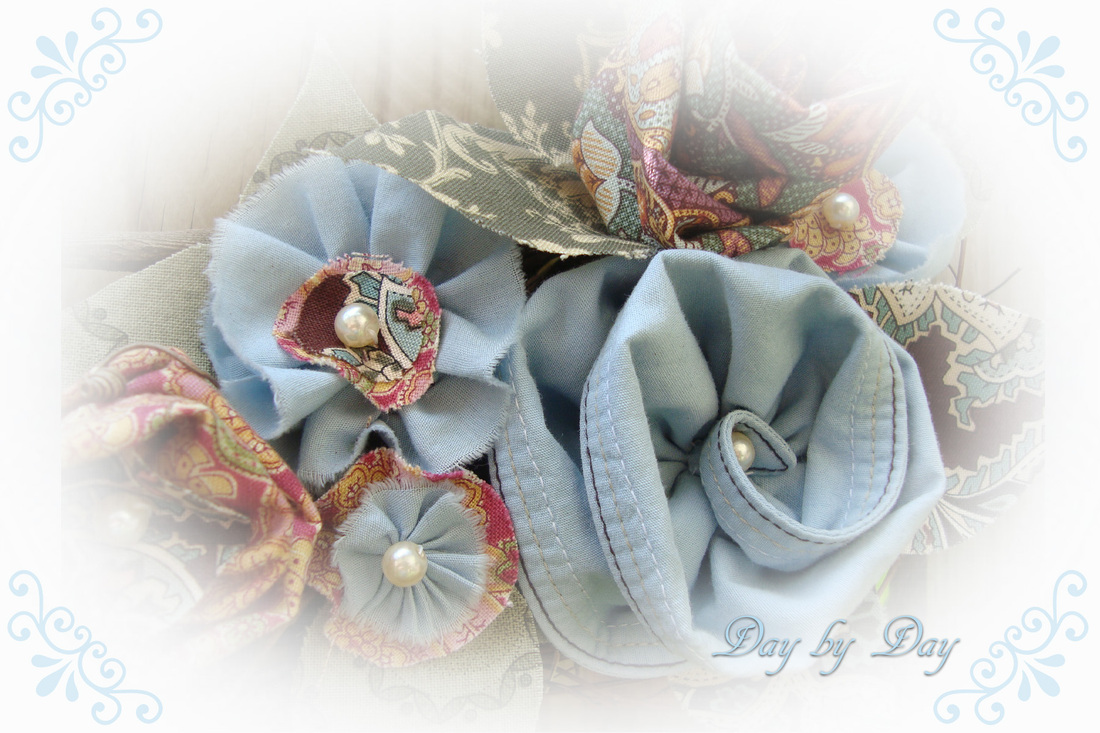
Lately I'm really loving flowers... the beautiful bougainvillea are flourishing all around our neighborhood and their cheery shades of pink bring a big smile to my face as Charlie and I take our daily strolls. He seems unimpressed by their tropical hues, but I find them enchanting. My recent Happy Scrappy Flower endeavor sent me into fanciful imaginings of a garden of fabric scrap flowers, blooming happily indoors to be enjoyed year-round. I've been coming up with new projects to create using my fabric scrap stash so that I can look at the pieces I so loved when I bought them, and enjoy them every day. During the past week I've squeezed a bit of creation into my endless days spent in the digital realm, and I picked out my very favorite prints to be used.While getting all the prints together, I ran across the remains of my husband's old shirt that I have torn up and used for everything from Sophie's Kitty Quilt to my favorite Framed Patchwork Memories. It was still sporting its collar, which had lovely multi-colored stitches at its edge... perfect for a unique fabric flower! It's amazing what you can make when you look ordinary things with just a bit of imagination! My stolen handwork moments added up to a whimsical garden of fabric flowers, and I decided they would fit beautifully on the grapevine wreath I had kicking around crying out for embellishment. 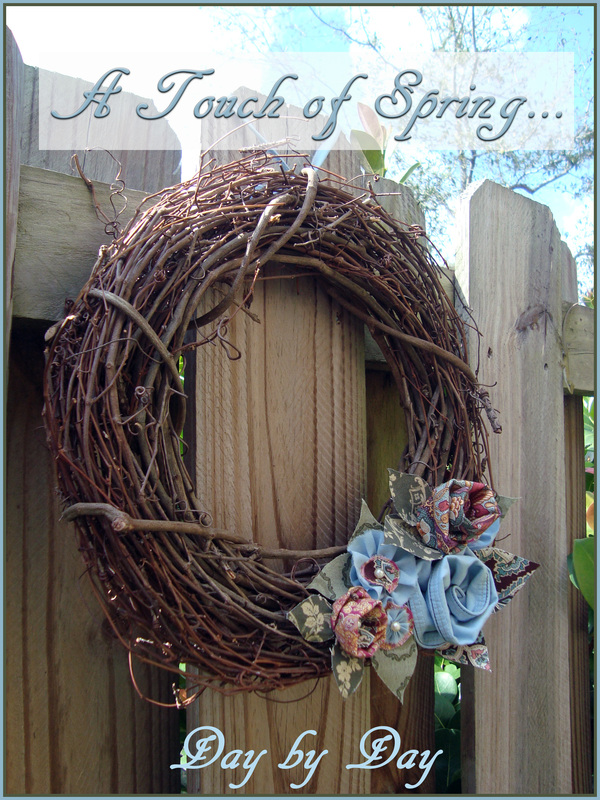 I didn´t realize it when I posted this pic.... but can anyone spot the lizard? I am so pleased with my 'breath of spring' wreath--it makes me happy to see so many of my favorite fabric prints all snuggled together where I can see them every day! If anyone is interested in creating their own fabric flower wreath, you can take a look at my scrap flower tutorial and just let your imagination run wild--make a bunch of the flowers in different sizes and colors, and attach them to your own wreath. A great weekend project to brighten the winter days. Voila--instant spring! Happy Crafting!
Green Coffee Utopia!
All has been quiet on the posting front here this week... not for lack of activity, but because the projects currently in the works are neither quick nor particularly pretty when photographed!
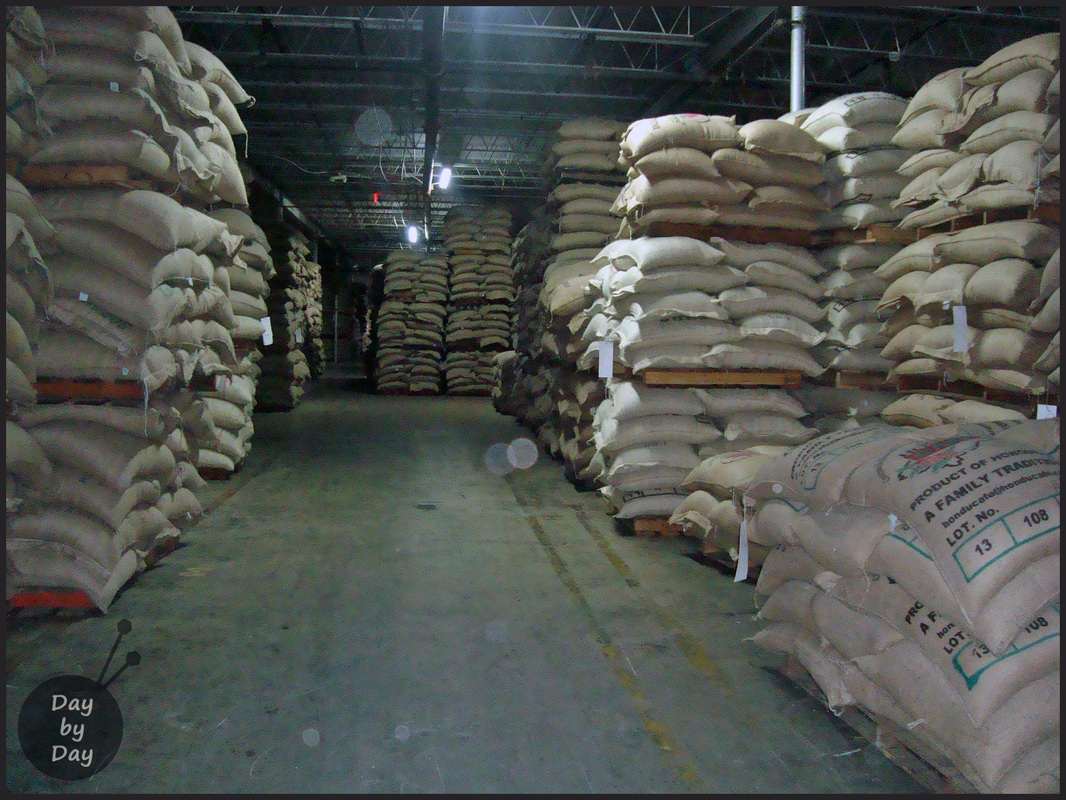
My husband is an artisanal coffee roaster, and we have been in a flurry of activity recently while getting his new warehouse/roasting space/shop space ready for opening. His mad carpentry skills and extreme attention to detail have been put to good use and we have become very friendly with the lumber and paint staff at our local Home Depot... a big shout out to all the experts who have answered our questions so nicely and patiently :-)
A few days ago we went to pick up his green coffee bean order at the warehouse you see in the photo above. I had never been in a coffee warehouse before, and it was absolutely incredible. From where I was standing when I took that shot there was another section behind me that was equal to or larger than the space you see in the photo. Stacks and stacks of green coffee from Honduras, Equador, Costa Rica, and Colombia.
Pure heaven!
Walking into that space was like wandering into a barn filled with drying hay--the green coffee beans give off a very earthy, green smell that is reminscent of a barn--in the best possible way. It was just incredible.

Mr J hard at work...
While my husband is busy building cabinets and a tasting table, I have put my quasi-carpentry skills to work and repaired two sections of drywall in the upstairs guest bathroom. Exciting, non?
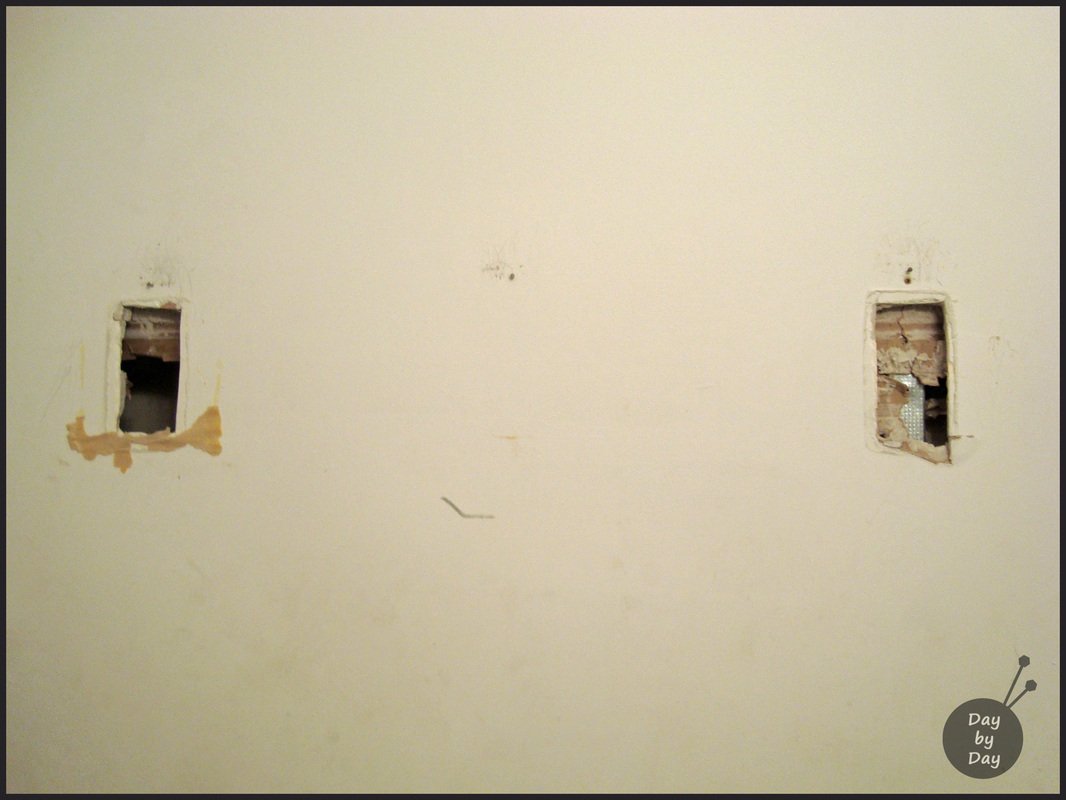
To clarify--there used to be a ceramic and perspex towel rail that was permanently attached into the drywall. At some point it was taken out of the wall (that was long before my time), and instead of repairing the drywall, several prints were hung strategically over the openings.
Men. I recently decided to paint and do a bit of reno in the bathroom, and did the repair myself.
It's really not hard--measure the openings to see how big a piece of drywall you need, then cut the piece you're going to be inserting as the patch. Put it up to the wall and trace the shape onto the wall so you can cut away the wall and the patch will fit perfectly.
Here I have to apologize as I completely forgot to take photos as I worked along on the repair... oops.
Take a piece of scrap wood (it came in handy that Mr J was doing a lot of woodwork at the warehouse while I was doing this repair) and ease it into the wall behind the opening. Screw it into place above and below the opening. This will create a brace for the patch to rest against and a wooden surface to which you can screw the patch.
Once the patch piece of drywall is screwed into place, gently sand around the seam to remove any rough spots. Use drywall compound (you can get a little pot of it for repairs) and essentially 'crack-fill' the space where the patch and the wall join. Be liberal and try to smooth it out as well as you can, but keep in mind that you will have to allow 24 hours between applications for the drywall compound to fully dry.
Once it is dry, gently sand to smooth everything out, and if it needs a bit more compound, keep applying, letting it set up for 24 hours, and sanding it until you have the desired smoothness. I ended up doing this three times to make sure it was going to be invisible. Taking the extra time really was worth the end result.
Once it is ready and painted, it should 'disappear' into the wall and you'll never know there was a repair!

The finished result! Smooth, beautiful wall :-)
I'm so pleased with the end result--the wall is beautiful and smooth, and you would never know there had been a repair! Success! Apologies for the weird lighting in the above photo--the wall color is the most beautiful grayish-blue from Behr called 'soft denim', but it doesn't read well in the photo. It reminds me of a winter day at the seaside, and I can't wait to see how it looks when the room is all finished. I've now moved on to the ceiling and trim, and have the wood to build a display shelf that is going up on that wall. I'll share the finished result when it's ready... eventually. If anyone is interested, here is a great Build dot Com video tutorial--the only difference in their method and mine is that I didn't use tape, and I used premixed drywall compound. I didn't watch a tutorial before I did my repair--I kind of wish I had, and I would have known to use the quick-set joint compound. Oh well, I'll know for next time! There's another one of those towel rails in the downstairs bathroom that I want to eliminate! I'm working on another little project and will have something much prettier to share soon... I promise! How is everyone's week going? What are you working on at the moment?
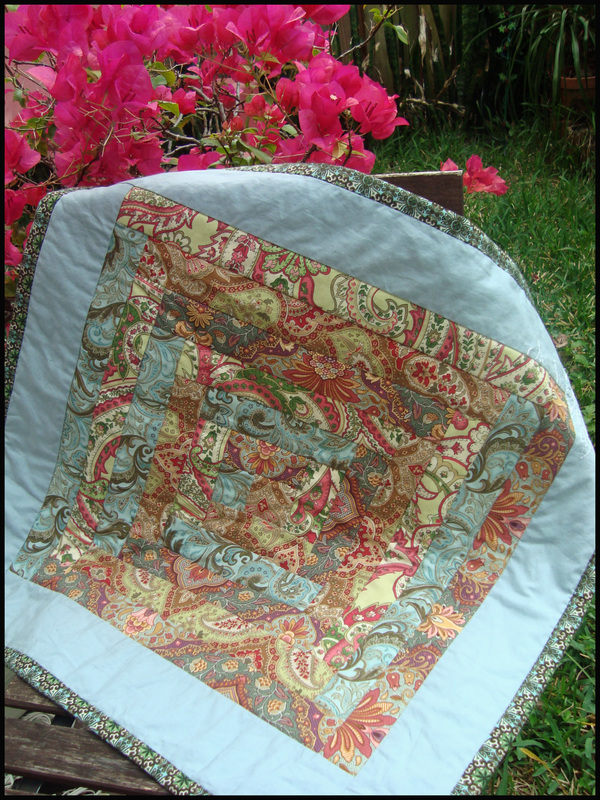
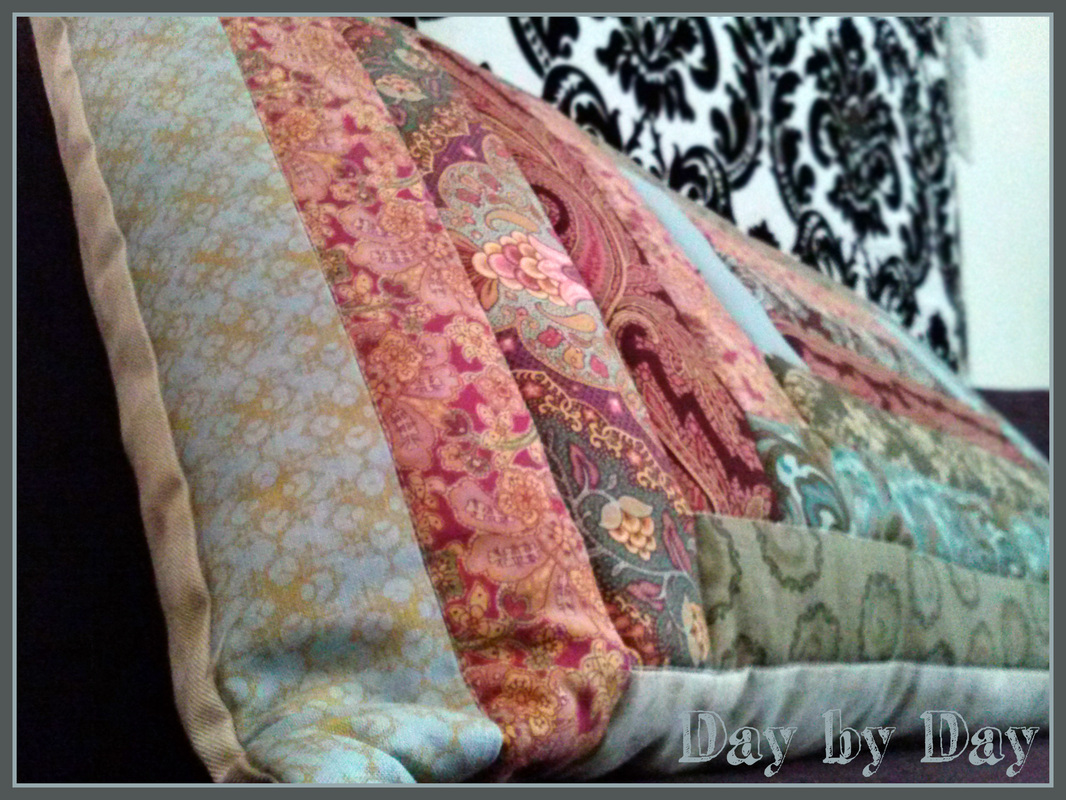
Confession: I am a fabric hoarder.
Well, not technically a 'hoarder' because I have no problem entering and walking through my house... but I have a massive fabric stash (a situation which I'm sure more than a few of you have in common with me?).
I have fabric from all sorts of sewing endeavours that I put away to do something with later... and some pieces are so very special to me. There are certain favorite pieces that I periodically take out and look at, wondering how I should use them. Then after much deliberation I end up putting them away because I like them too much to put them into just a 'so-so' project.
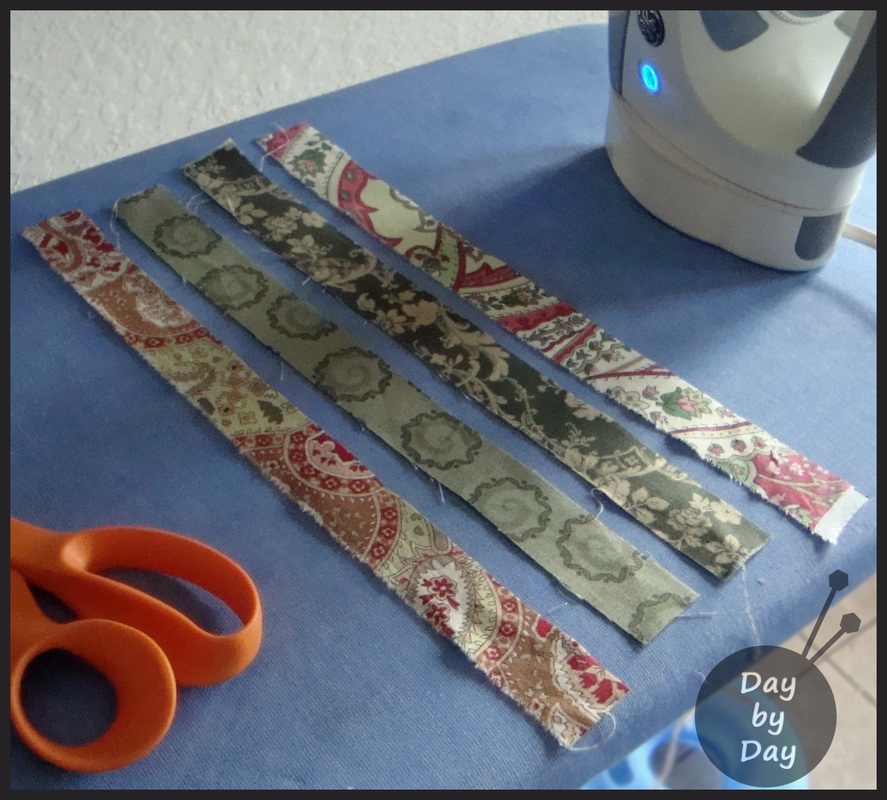
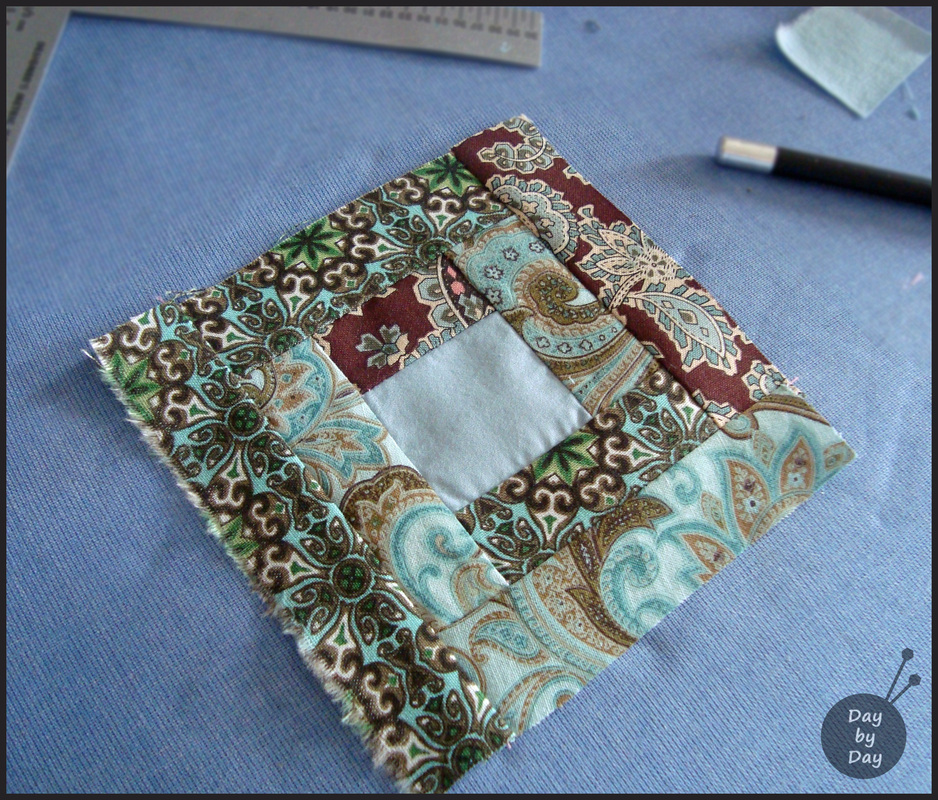
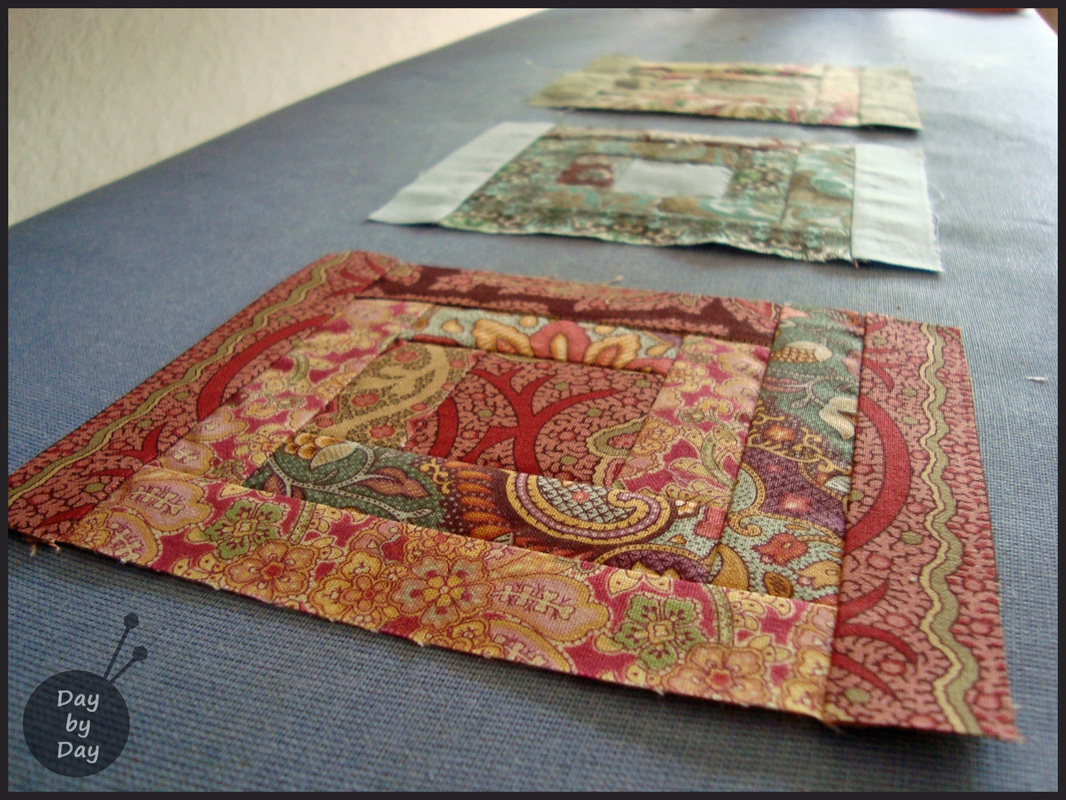
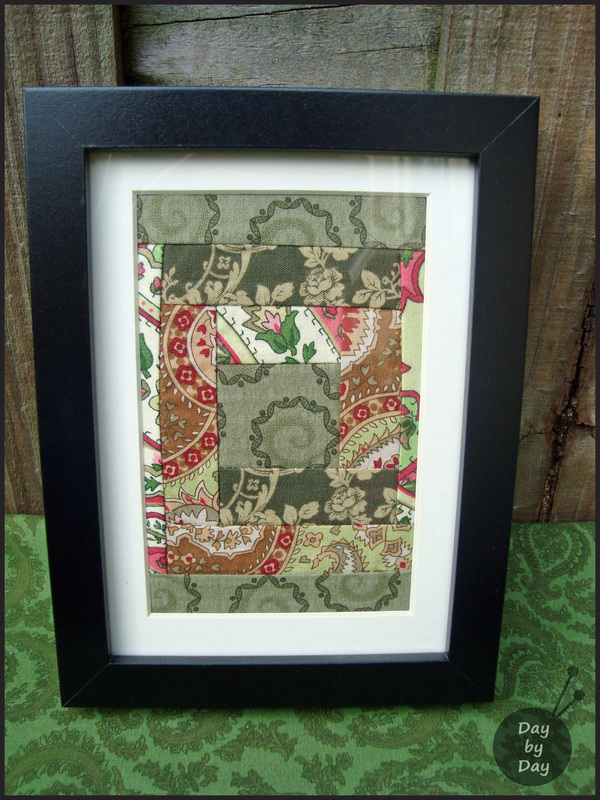
So, the other day I took out my pieces again... and decided to make something pretty that I could look at and enjoy all the time! I started out with 1 inch strips like these, and started adding them onto a 'base' block measuring 4.2cm x 4.8cm.
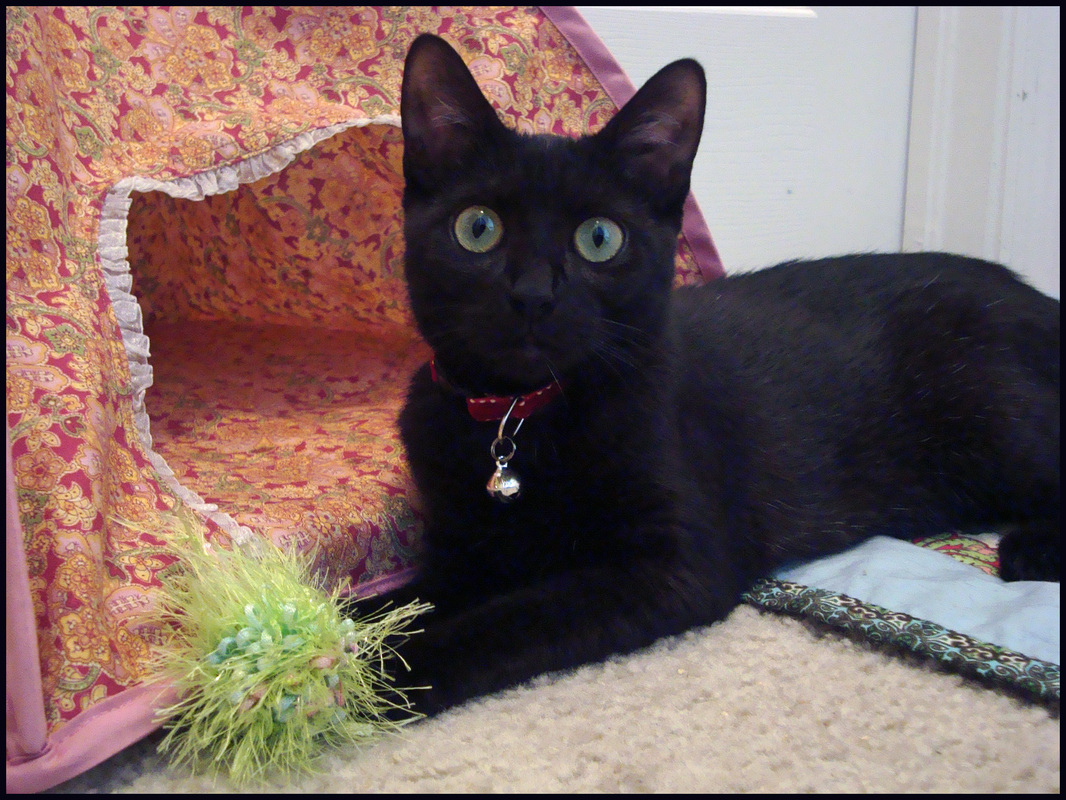
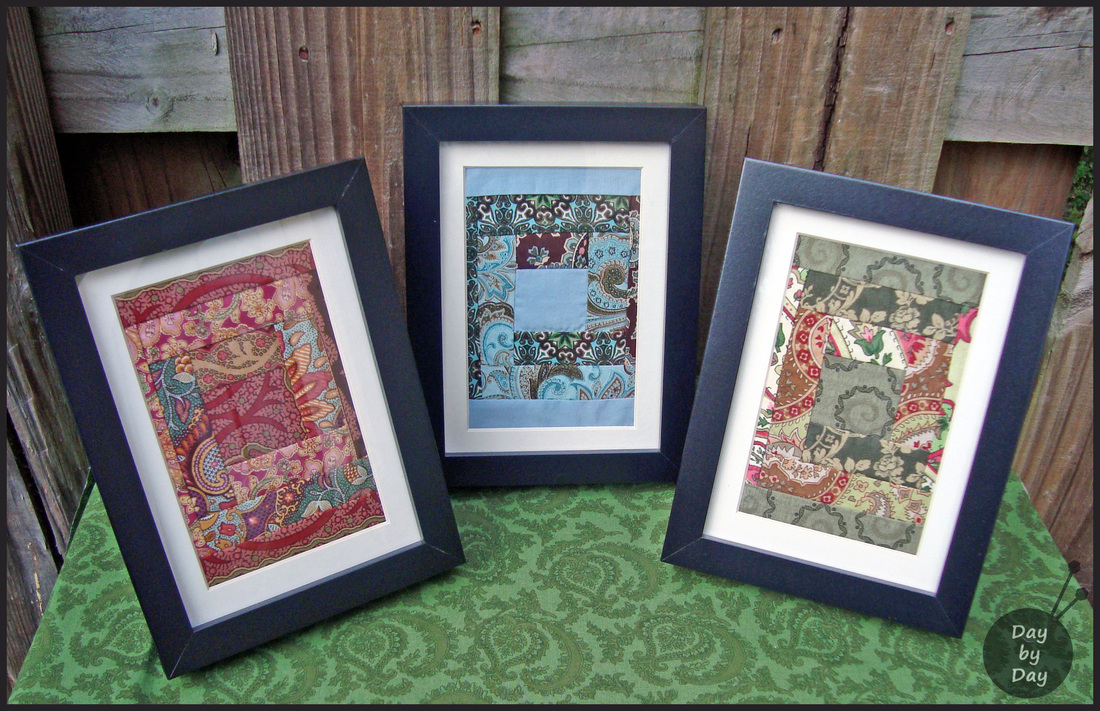
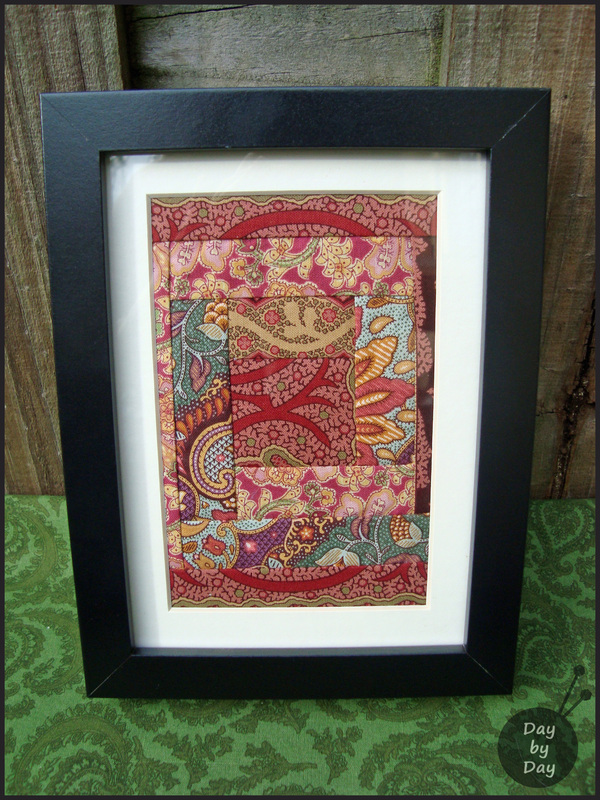
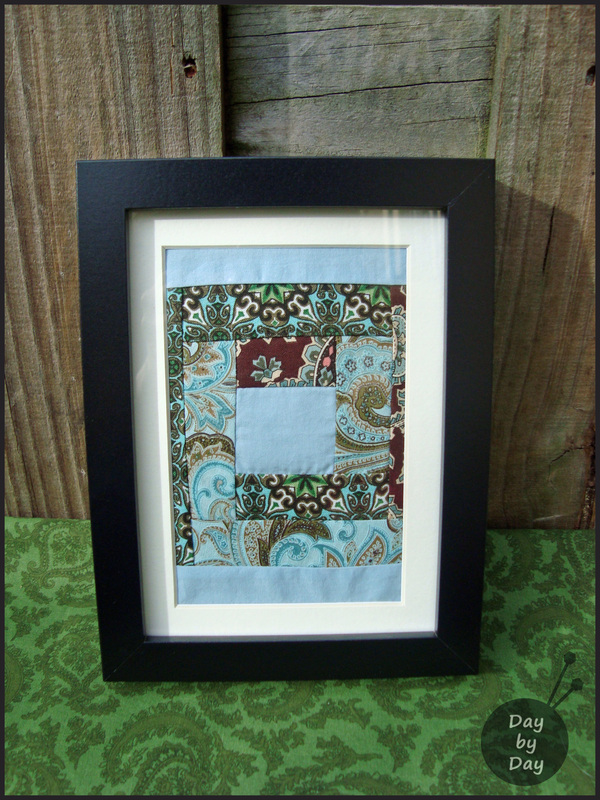
(...yes, that is a kitty ball-in-a-donught toy in the background... that's how we roll here!) And before long I had 12cm x 12cm squares. See that dark brown and blue paisley print fabric? It's my all time favorite! I assembled three color themes: pinks, blues, and greens. I had three RIBBA frames from IKEA kicking around, so I added strips to the top and bottom of my modified log cabin blocks to allow them to (kind of) fit into the matted openings. Overall I'm delighted with the results. There is left-over fabric in these from everything from clothing for myself to shirts for my husband, and even Sophie's little kitty hidey hole. And some much-coveted fabric that I saved from my sewing room in Canada after the flood. The darker greens in the above shot are a couple of those pieces. I love the fact that I can look at these and recognize all of the different patterns and it brings back memories of many happy projects, and the happy times associated with them. They are now living in the downstairs bathroom (which accounts for the weird lighting in the above photo), and I smile every time I look at them. As Martha would say... these are a 'favorite thing'!
As much as I lament the lack of pure white snow here in sunny Florida, I really do not envy my friends and family back in Canada who have to endure the long, dark, cold days of winter. The flurry of activity surrounding the holidays gives way to the endless piles of snow and freezing winds of January, and spring seems a million years away as the days tick slowly by.
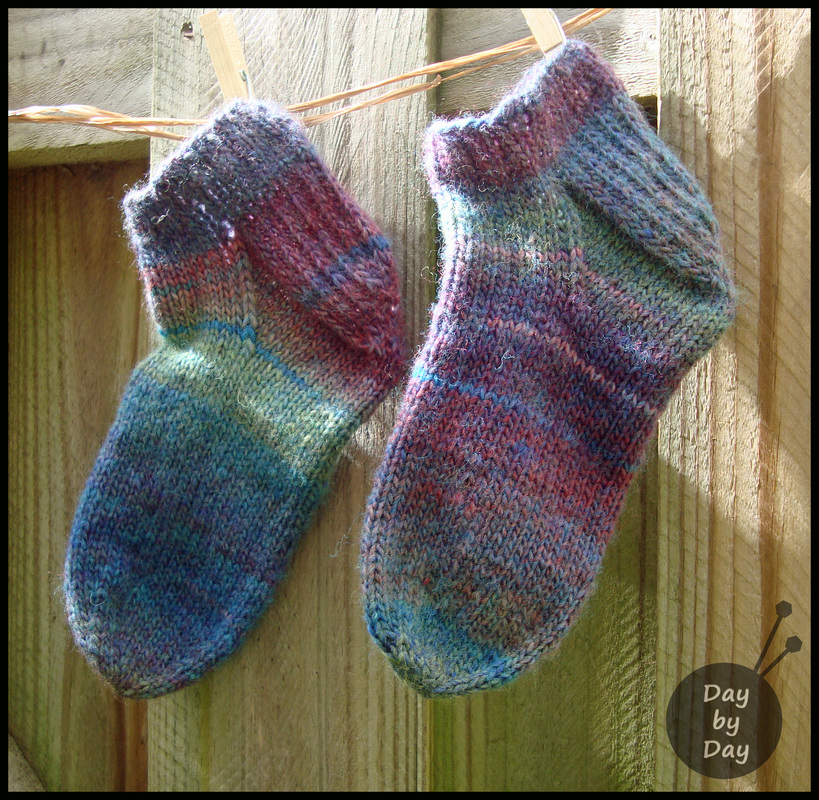
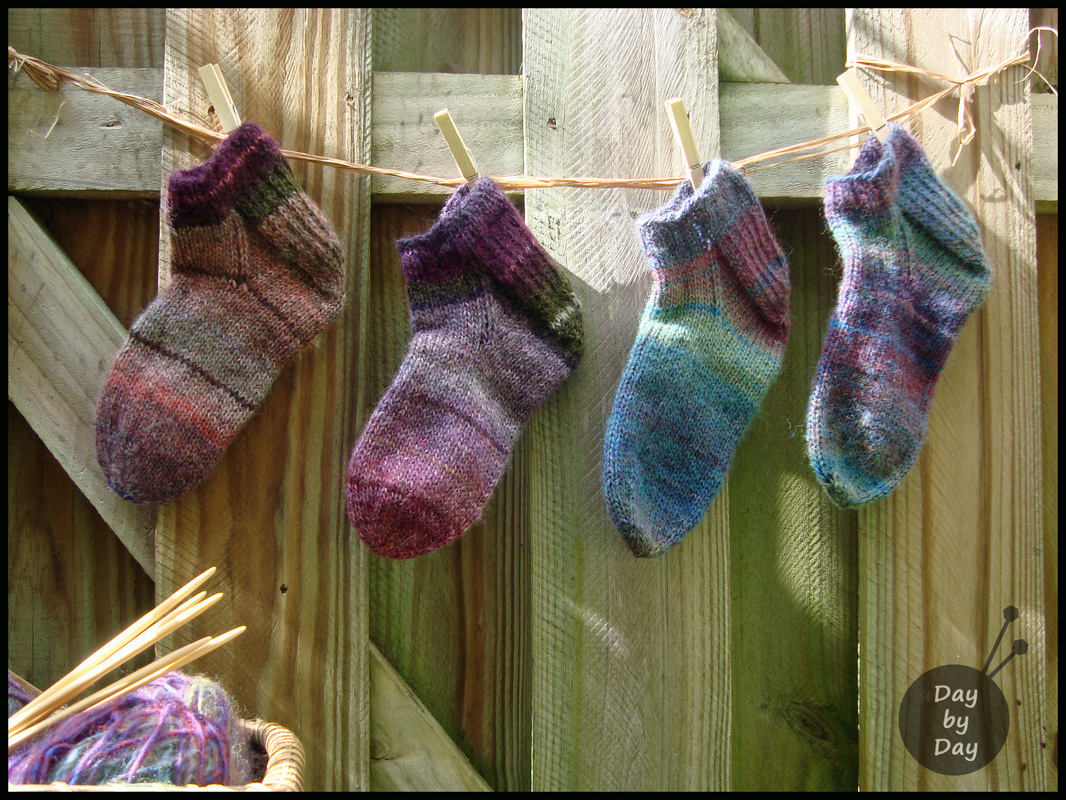
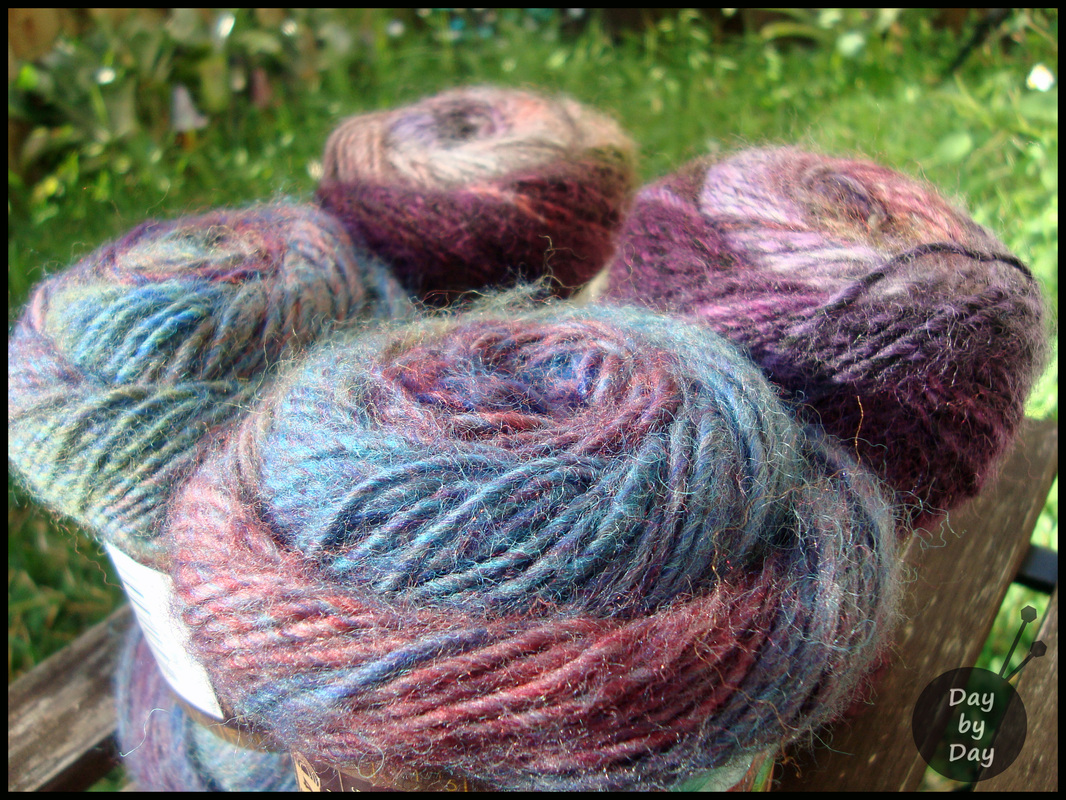
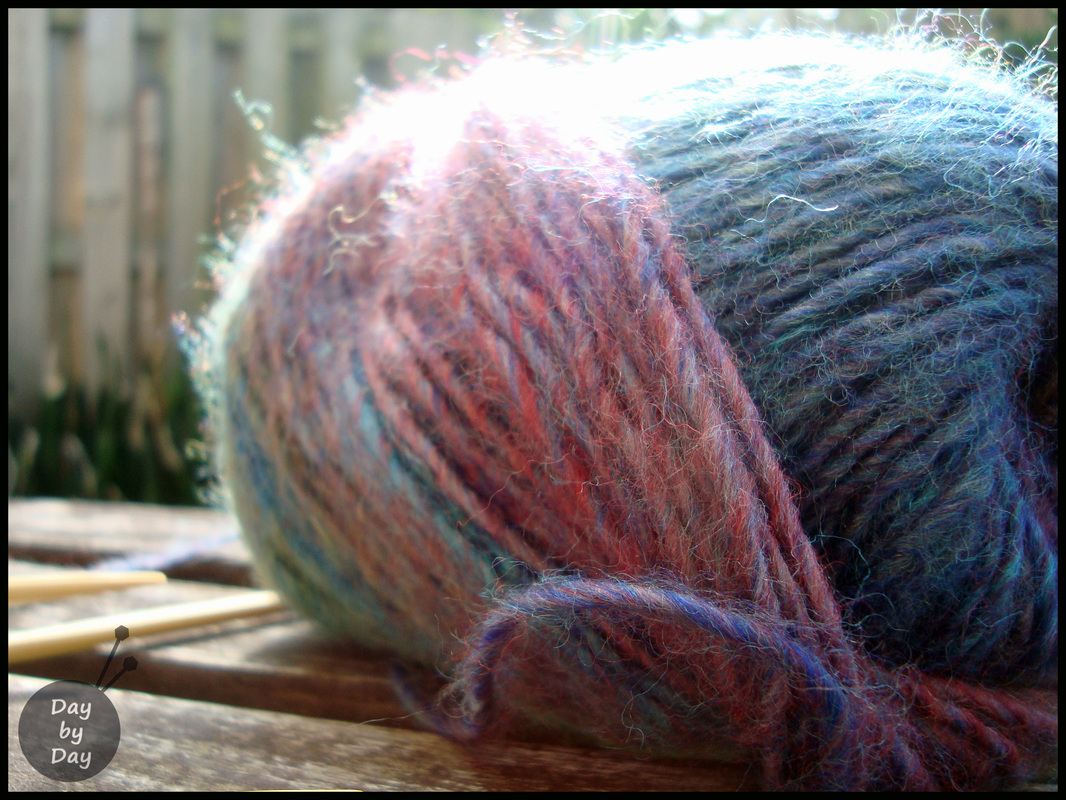
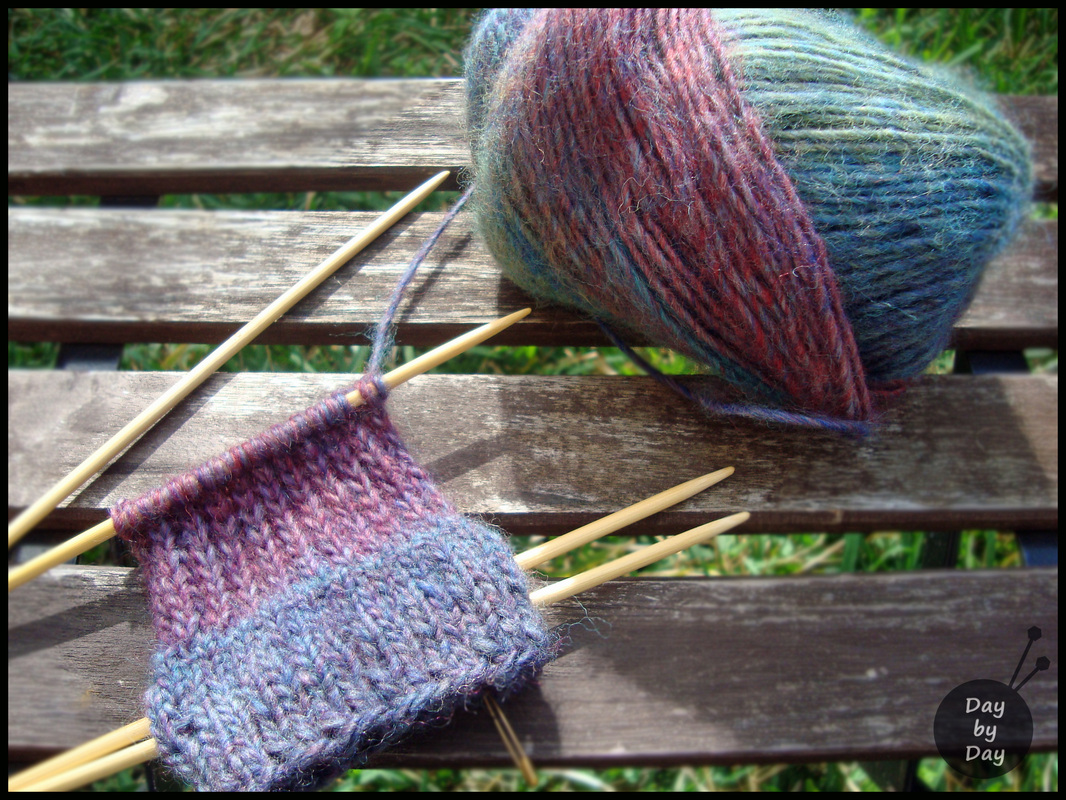
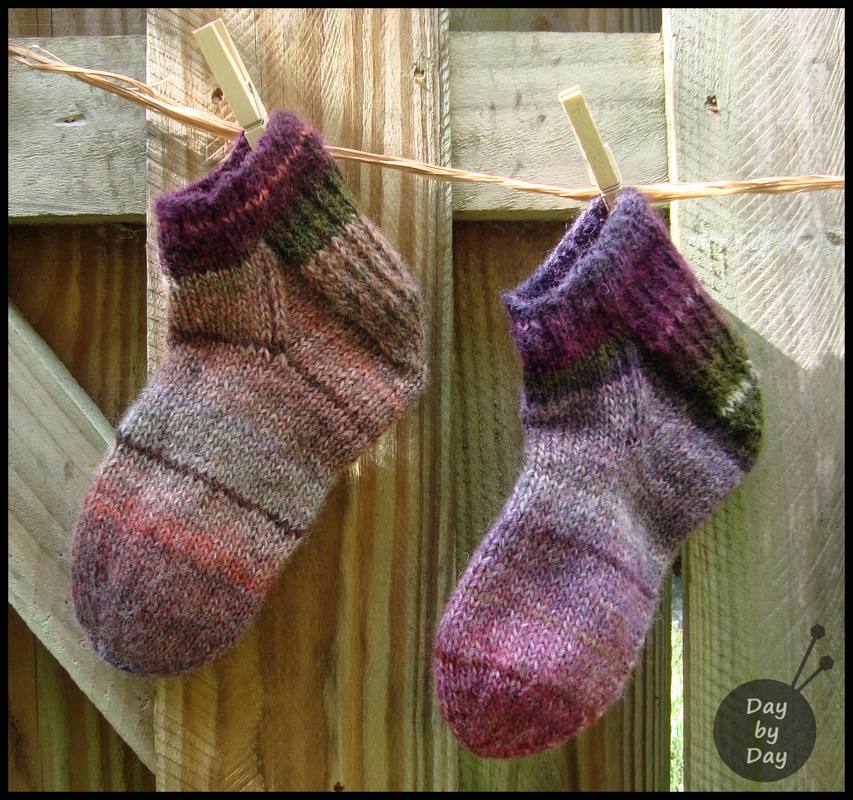
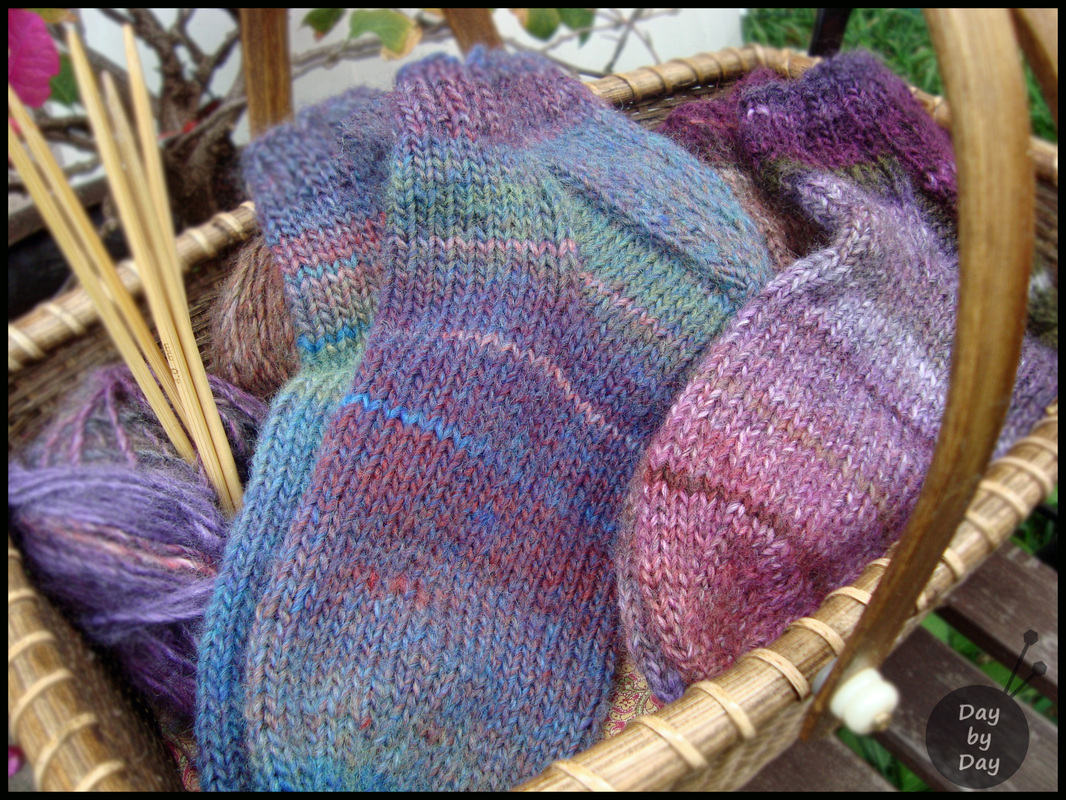
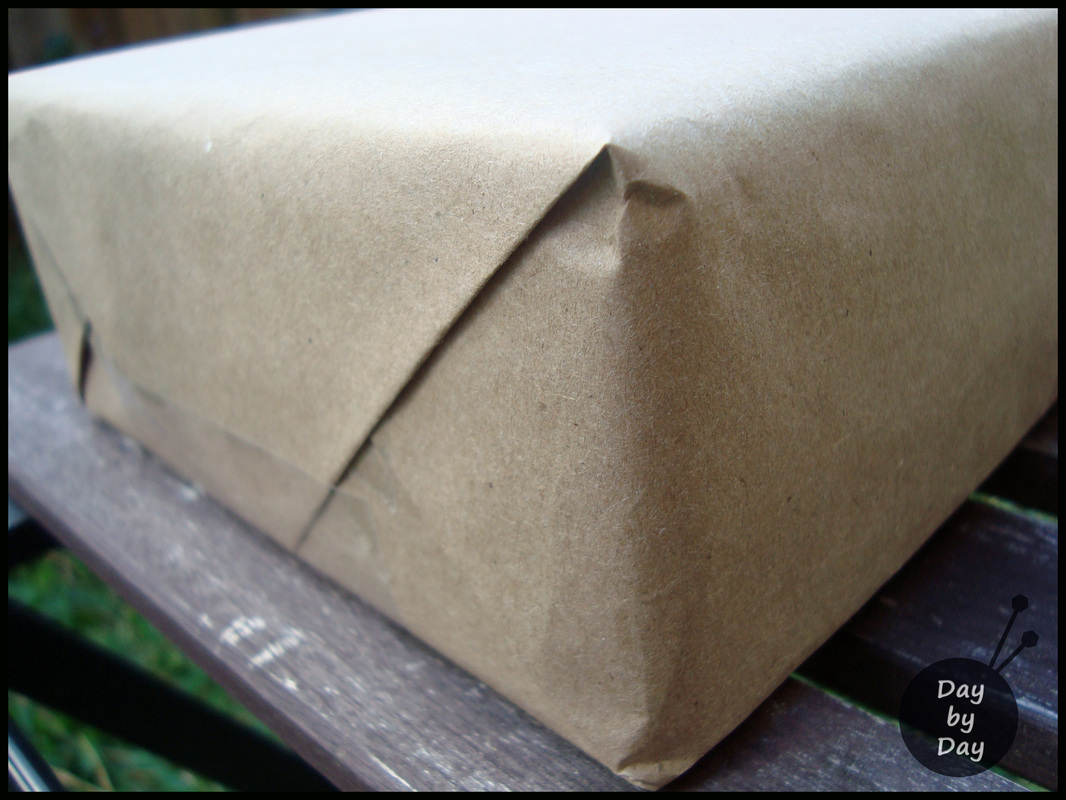
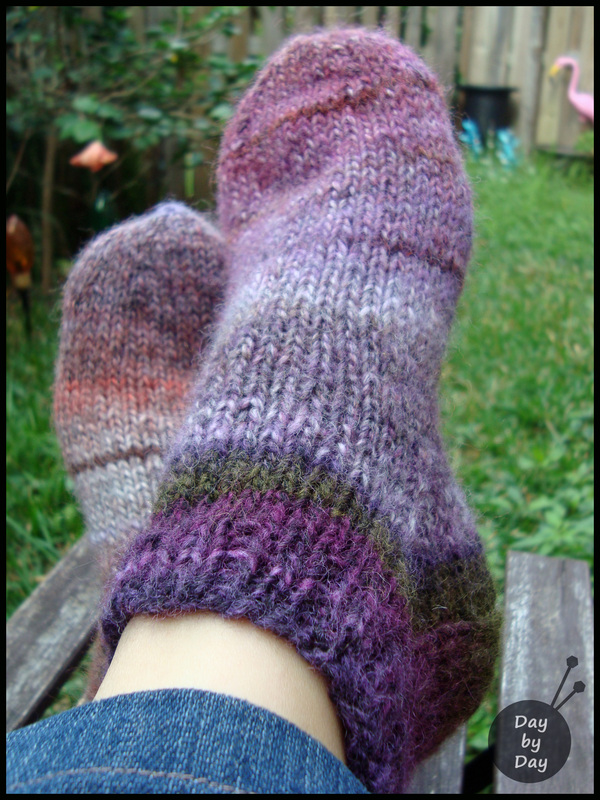
One of my good friends of many years lives waaaaaaay up north in a place that is remote and frigid, and in the days after Christmas I was thinking of her and an idea popped into my head--a surprise winter survival care package! I stumbled across the most beautiful wool, and my knitting fingers got itchy! The color combination is called 'Glacier Bay', and it reminded me of her--the perfect find! I dug out my Mum's instructions for slipper socks--I have knitted so many pairs of these through the years, but it's been a few years since I last made them. Always better to check the pattern! Mum developed these slippers from her old stockings pattern with the most beautifully-turned heels and perfectly-tapered toes which had been taught to her many years ago by my paternal Grandmother. There is a lot of history in these socks! I am so pleased with how they turned out--look at the gorgeous variegated colors! I made the tops of them a bit longer than I normally would to cover the ankles and keep away the northern drafts... ... and I liked them so much that I made myself a pair too! My color is called 'Violets', and I adore the heathered purples and pinks with a touch of mossy green thrown in. Is there anything more pleasant than receiving a surprise package in the mail? When I was in university, living far from home, the best thing in the world was to receive 'snail mail', second only to a care package. To this day I get excited when I open the mailbox and there is a card waiting for me inside. A package? Well, that just makes my whole day! Some of the best things come wrapped in plain brown paper! The slipper socks are snuggled up inside with some winter essentials... Rosebud salve to prevent chapped lips, sparkly moisture cream to add a bit of bling and protect tender skin from the rough Canadian winds, shimmer face hilighter to brighten a face that rarely sees sun at the moment, and a few other fun little treats! I just got a message from her this morning--after two weeks in transit, the package finally arrived! I was waiting to share my project with you until she received the package... just in case the surprise was discovered. You would be surprised how often I've worn my own slipper socks lately--it's been rather cool in the evenings, and these are beautifully cozy when the temperatures dip. Unfortunately the pattern for these is my Mum's jealously-guarded secret as she sells many versions of these year-round at crafting fairs and a local cooperative of like-minded artisans back in my hometown. However, if you are an experienced knitter who has made stockings before, these are very easy to make--you cast on 42 stitches, knit 2 pearl 1 for 6 rows, knit 3 rows, and then knit and turn your heel and continue on as you would for a stocking, working with 14 stitches on each needle once you have turned the heel and decreased back down to 42 sts to knit the foot. Decrease as usual to shape the toe. I hope you're all having a wonderful week--and enjoying your winter projects! What's everyone working on at the moment? I love to see what other crafters are doing :-) True happiness comes from the joy of deeds well done,
the zest of creating things new.
~Antoine de Saint-Euxpery~
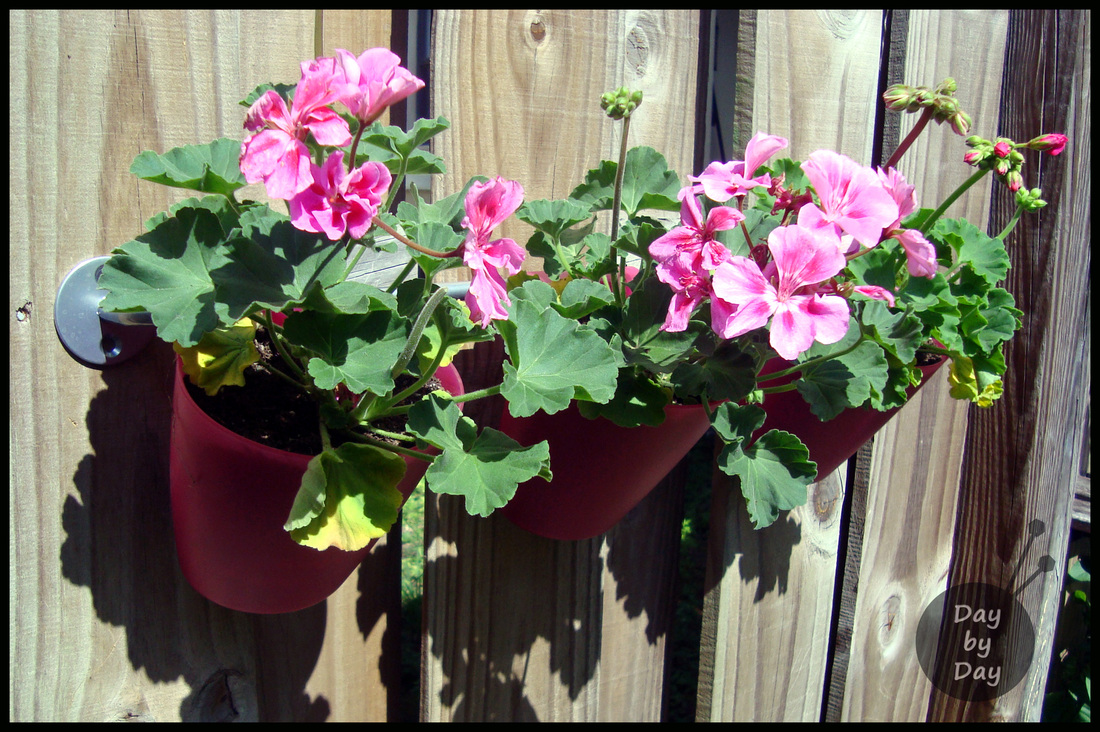
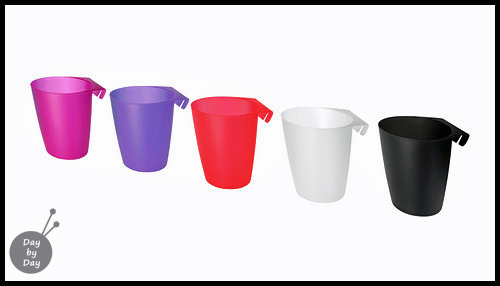
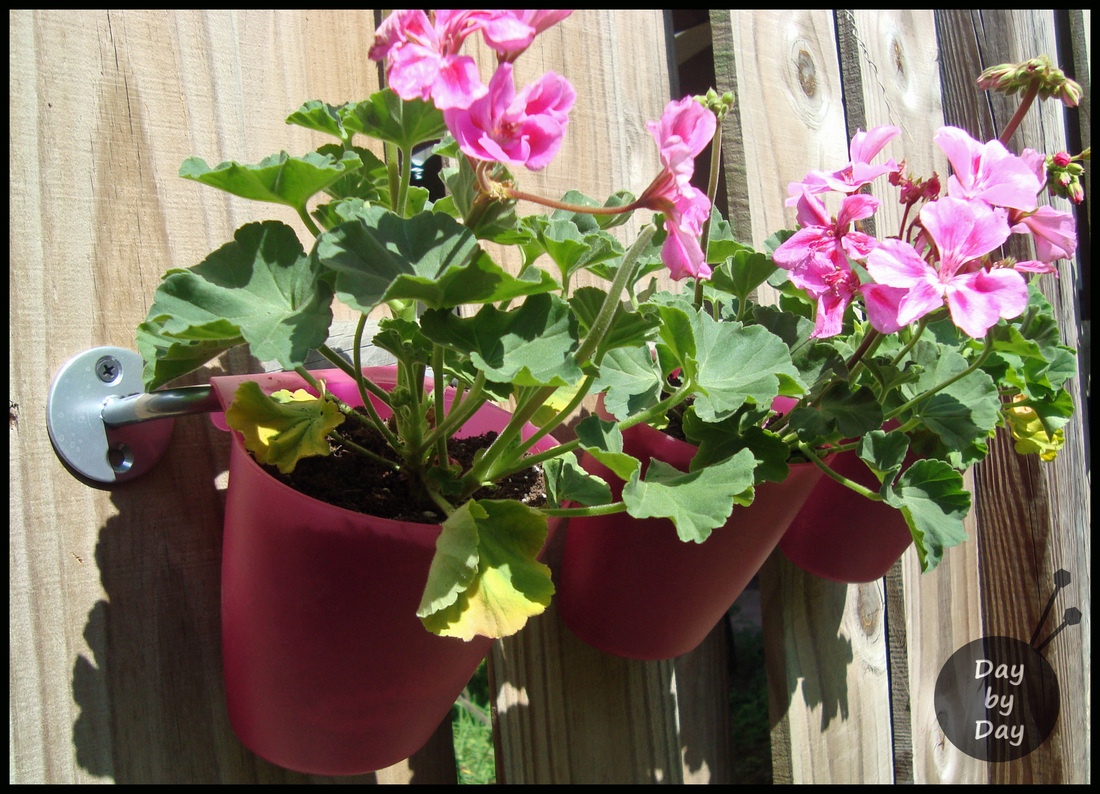
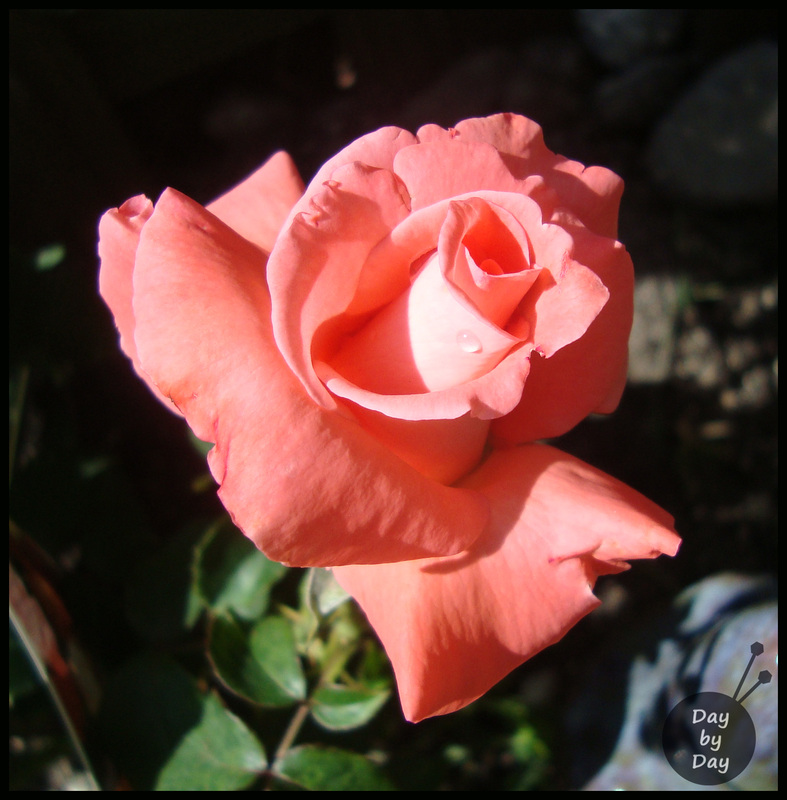
It was a mild and sunny weekend here in Miami--the perfect time to start thinking of spring planting and adding a bit of color to our back garden. For ages now I've been wanting to figure out some sort of 'window box' contraptions to hang on the backyard fence, and the other day when we were at IKEA the solution jumped out at me: BYGEL containers and the BYGEL rail. My own interpretation... I love the Swedes! Technically they're 'wall storage solutions', but what a simple, easy, and inexpensive way to create vertical plant holders! I picked out some happy, vibrant geraniums and with less than half an hour's work, I have a couple of lovely, inventive, and visually interesting fence planters. The containers cost an extravagant $0.99 each and came complete with little holes in the bottom which are perfect for plant pot drainage! The rail retails at $2.99, and appears to have a coating of some sort, so I am really hoping that it won't rust in its new outdoor home. When I started working with the rails I realized that they would also make great mid-century style towel rails (I used to have original mid-century rails in my old house that looked very similar to these). IKEA--this is why I love you!  My lovely new Touch of Class Grandiflora Rose I was quite taken with the selection of rose bushes during my Saturday morning session at Home Depot (am I the only person who can spend HOURS there when I'm not even involved in any big project? Surely not!?) and came home with two beautiful ladies--a 'Sonia' Grandiflora and a 'Touch of Class' Grandiflora. I suspect they'll both be a similar coral-pink color, which is a lovely addition to a formerly-drab corner of the garden. My DIY weekend continued with repairing two sections of drywall in the upstairs guest bathroom in preparation for a fresh coat of the most gorgeous grayish-blue paint (post to follow) which seems to be an extremely popular color this season--it's everywhere, and I love it! It reminds me of stormy days by the beach back in coastal Scotland... wonderful memories of cold salty air and warming my hands around a steaming cup of coffee while seeking shelter from the relentless Baltic winds. Unfortunately my DIY adventures have ground to a screeching halt today as I managed to grab onto a red-hot oven rack this morning and burn my dominant hand in no less than EIGHT places. Impressive, non? Aloe leaf is applied... now I wait :-)
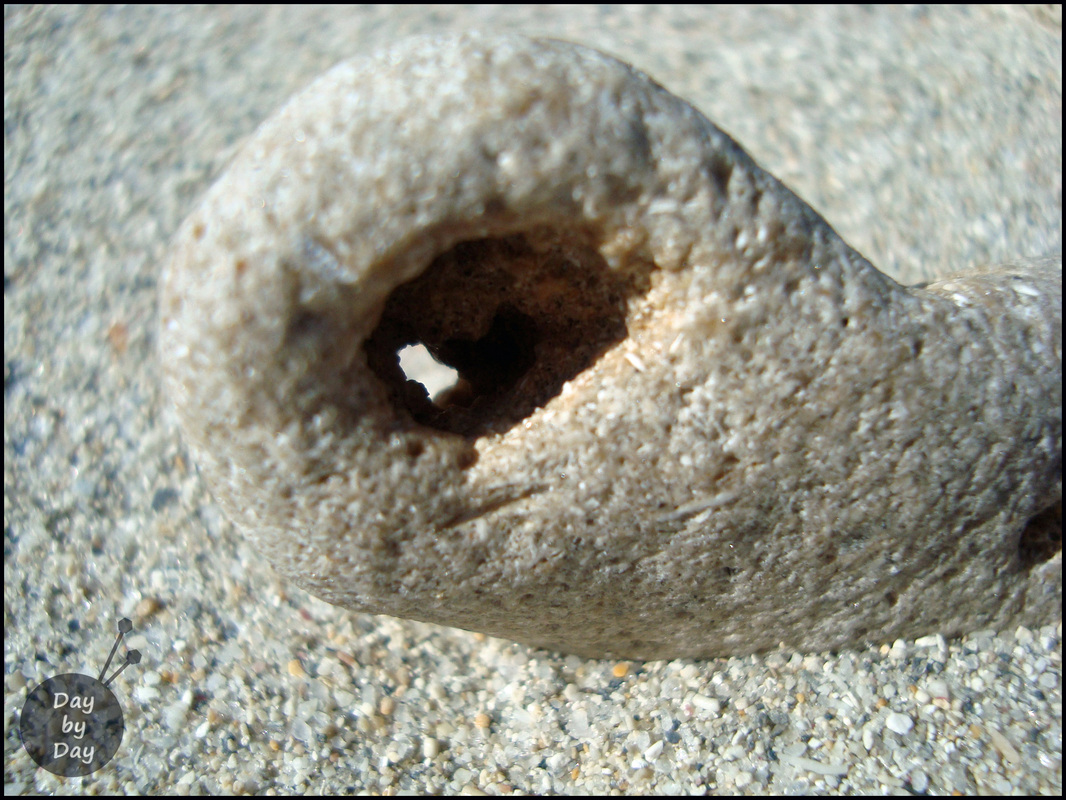
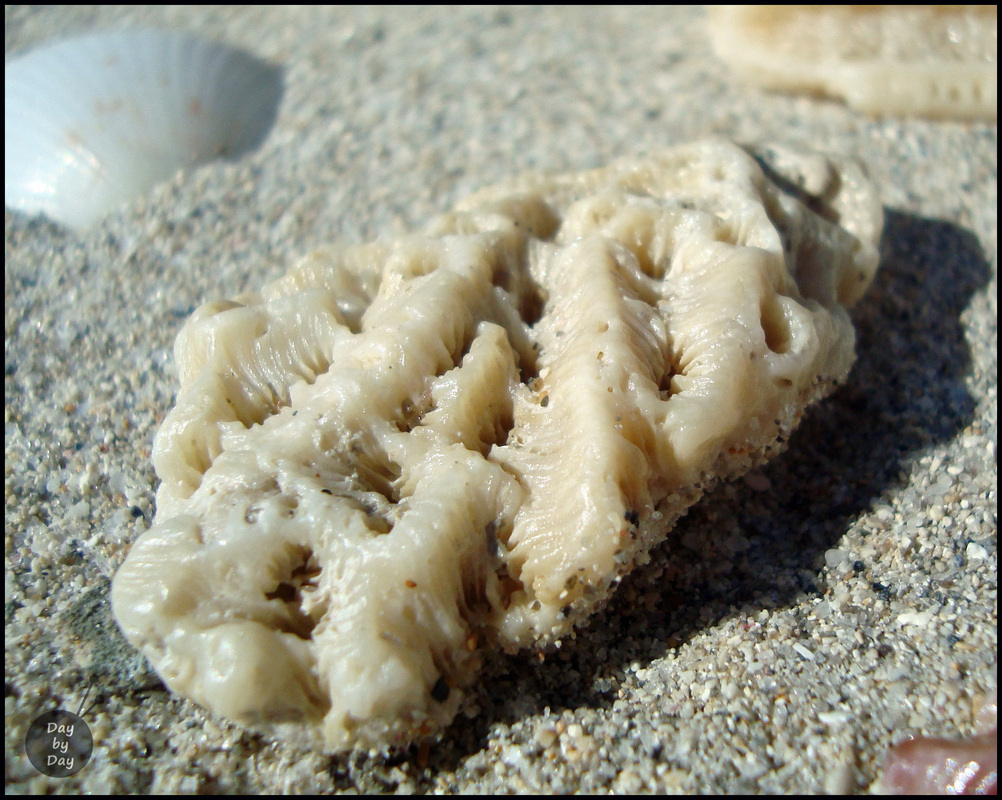
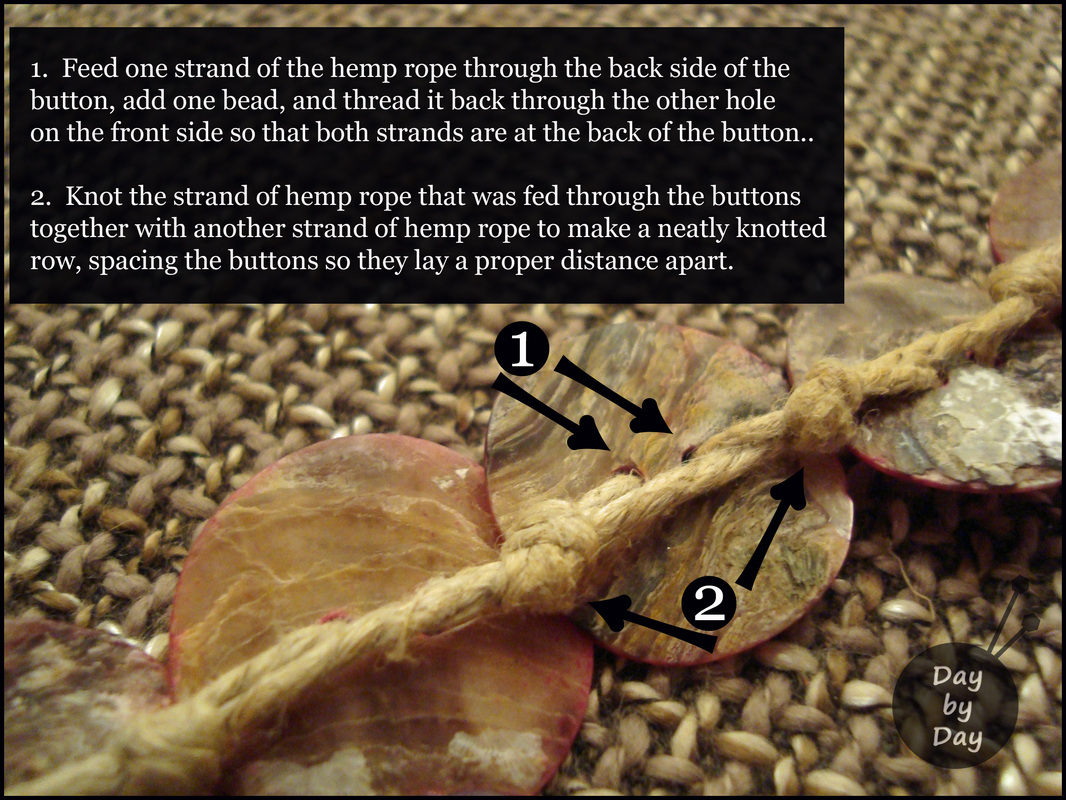
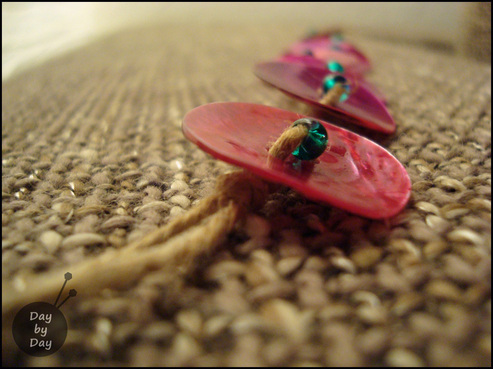 Beach-inspired shell, hemp, and bead bracelet. Every time I end up at the beach I find my attention immediately focused at my feet, scanning the sand for the best bounty of the sea--interesting shells, sea glass, geodes, and bits of coral and pottery. I am an intent beachcomber and always come home with my pockets full of sandy treasures. I have jars full of shells and sea glass collected along beaches from Scotland to the Caribbean, and I can pretty much tell you where I found each and every piece. I'm funny like that.
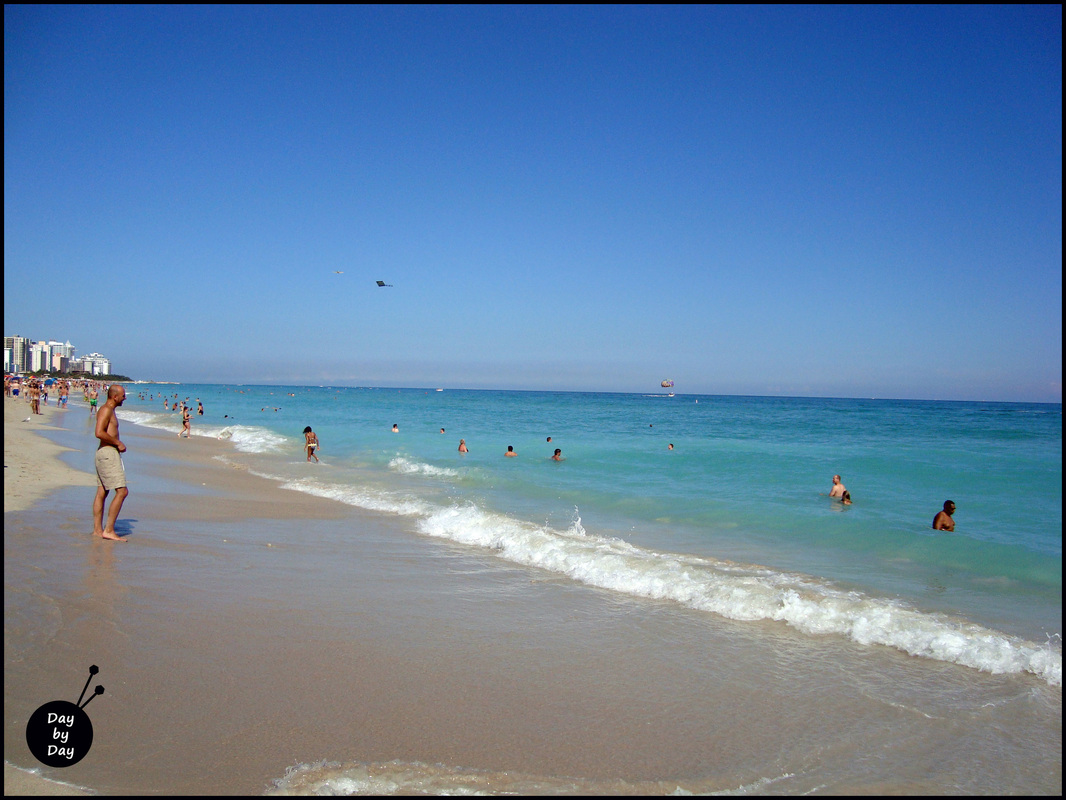
 South Beach, Miami view of Ocean Drive South Beach was insane last weekend--the 36th annual Art Deco Weekend was on and there was no parking and not much room to move around on the streets, or eve the beach!
Everyone picked a spot and settled in... Which was fine for a little while... But with a view like that, and all that gorgeous turquoise water calling, who could sit still?! 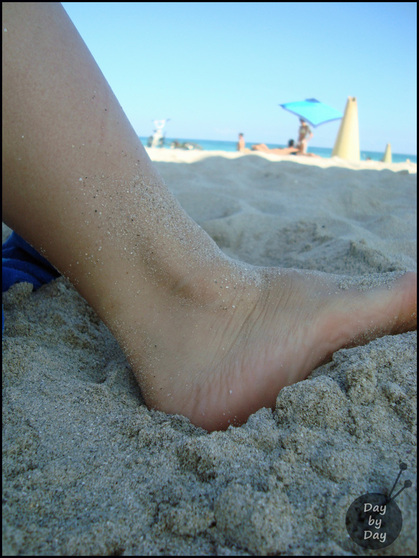 Is there any better feeling than your feet buried in the sand? I doubt it! I love walking barefoot along the beach, just inside the water line so the waves crash against your legs... it's so refreshing. This weekend the water was cool and lovely, and the waves were brisk, a wonderful contrast to the sun's healing intensity beating down on my shoulders.
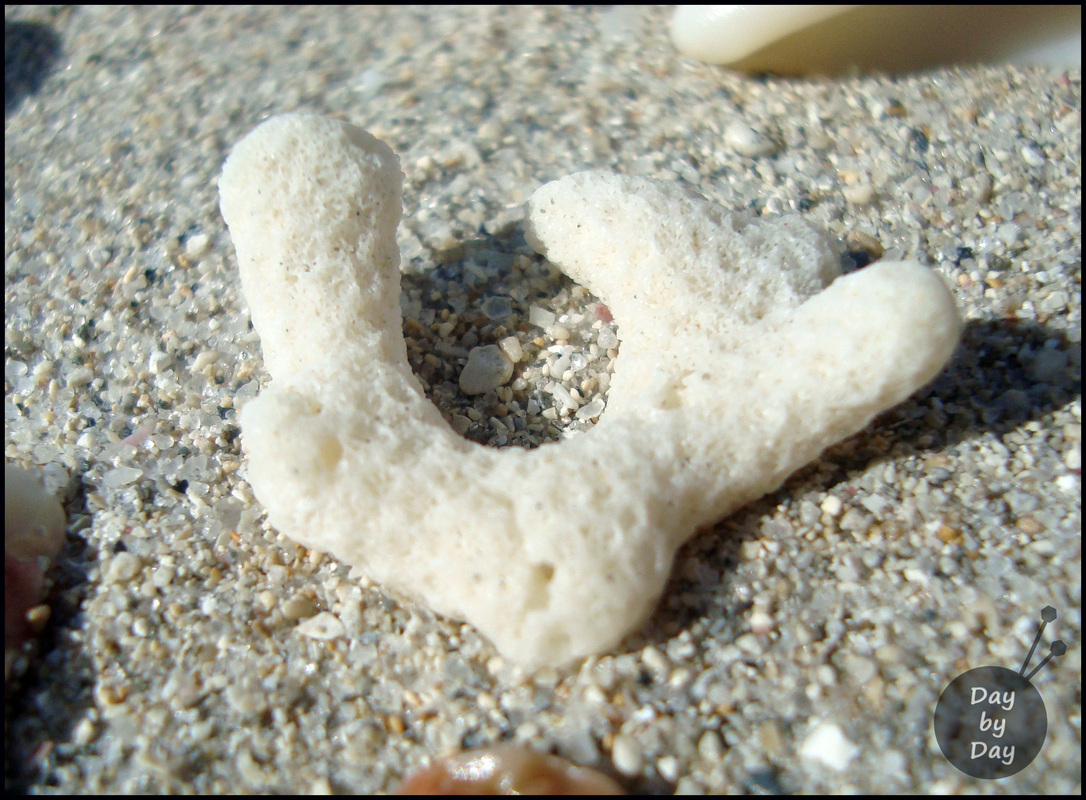
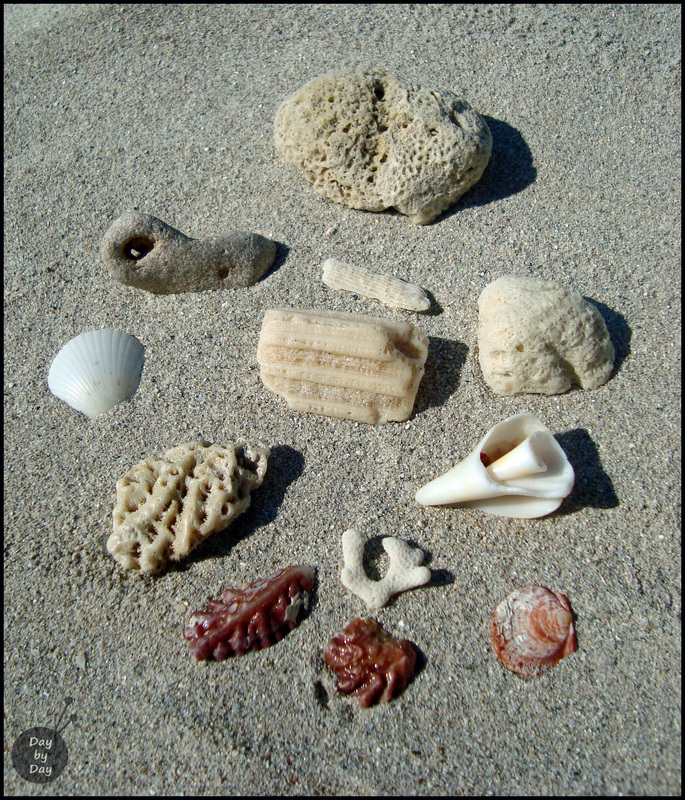
There were people of every nationality and race all smiling, laughing, and playing like children, and it was a wonderful thing to walk along and drink it all in. I find that I always feel like a child again when I'm barefoot walking along in the sand--it's okay to splash in the water, collect 'treasures', and chase seashells into the ocean as the tide pulls them back out on the currents.... pure bliss. There were some wonderful finds... And as usual I came home with a beach bag full of sand!
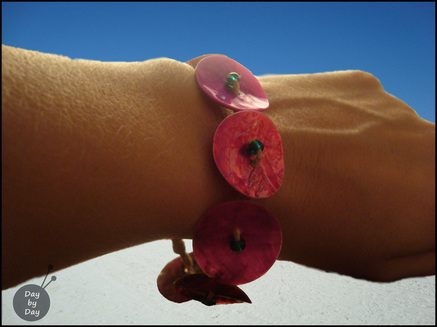
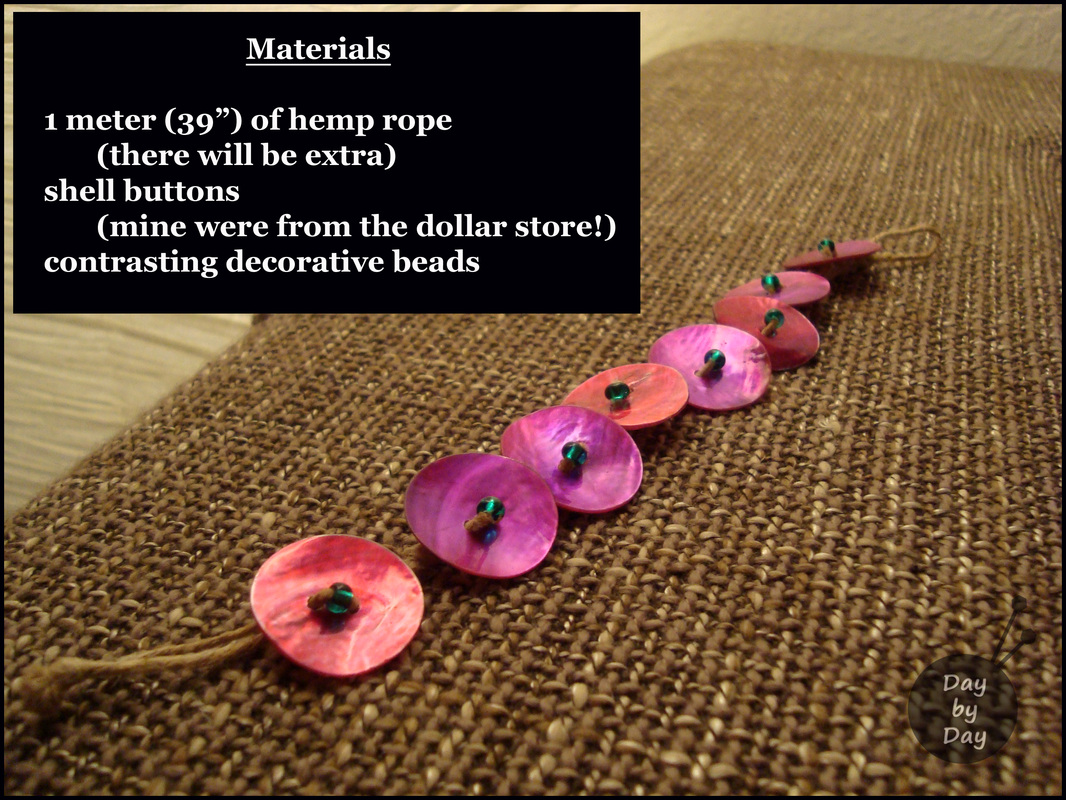
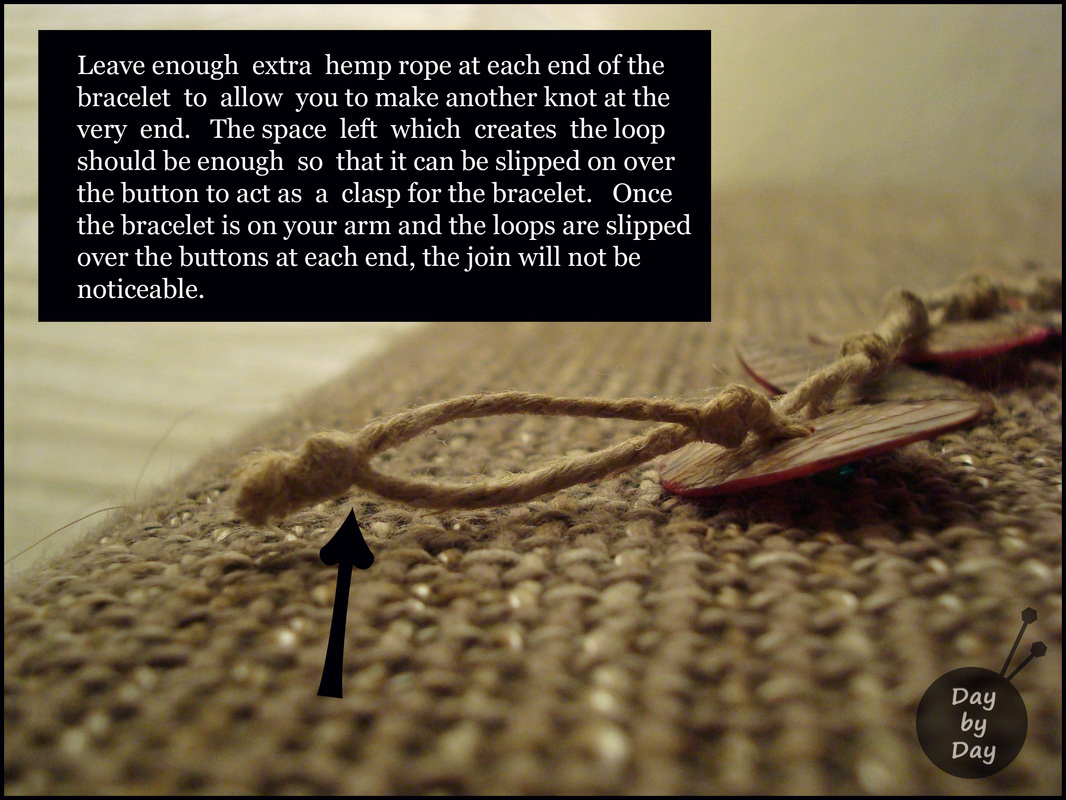
It would be so nice to capture that beach feeling and pull it out whenever I feel like it... so I pulled together a few simple materials and made a beach-inspired rustic shell bracelet. This is so simple--if you have a few shell buttons lying around, you're pretty much set! These snazzy pink shells are from a Canadian dollar store (my favorite!), the hemp rope is a fine to medium weight for jewelry-making, and the glass beads were from my (excessively vast) bead stash. Really, this can be made from anything you have in your odds and ends of crafting supplies. Essentially, the most important thing is to make sure you measure your wrist and figure out how many buttons it will take to create the bracelet (make it a bit loose so it is comfortable on your wrist!). One strand of the hemp rope is fed through the buttons and beads, and it is knotted with the second strand of hemp rope to create a smooth line with the shell buttons laying nicely side-by-side. The end loops are slipped over the button at the end of the opposite side of the bracelet, and it's almost unnoticeable when it is on your wrist! A happy, sunny, colorful homage to a great day out! And a reminder to be thankful for the joys in life--today in my hometown back in Canada the schools were cancelled due to the -39C temperature outside. I guess I won't complain about it being a 'cool' 21C here today!
|


 RSS Feed